8 Easy Steps for Streamlined Product Development
Aspiring fashion designers - we get it - all the lingo can be dizzying! Once you’ve nailed down your designs, it’s time to move into the product development process. For sanity’s sake, we break it into eight steps.
1. Number and type of pieces. Decide exactly how many garments you want to include in your line - it’s ok to start with more at first and narrow them down. A typical line has 6-10 pieces. Decide this based on budget, cohesion, & timeline.
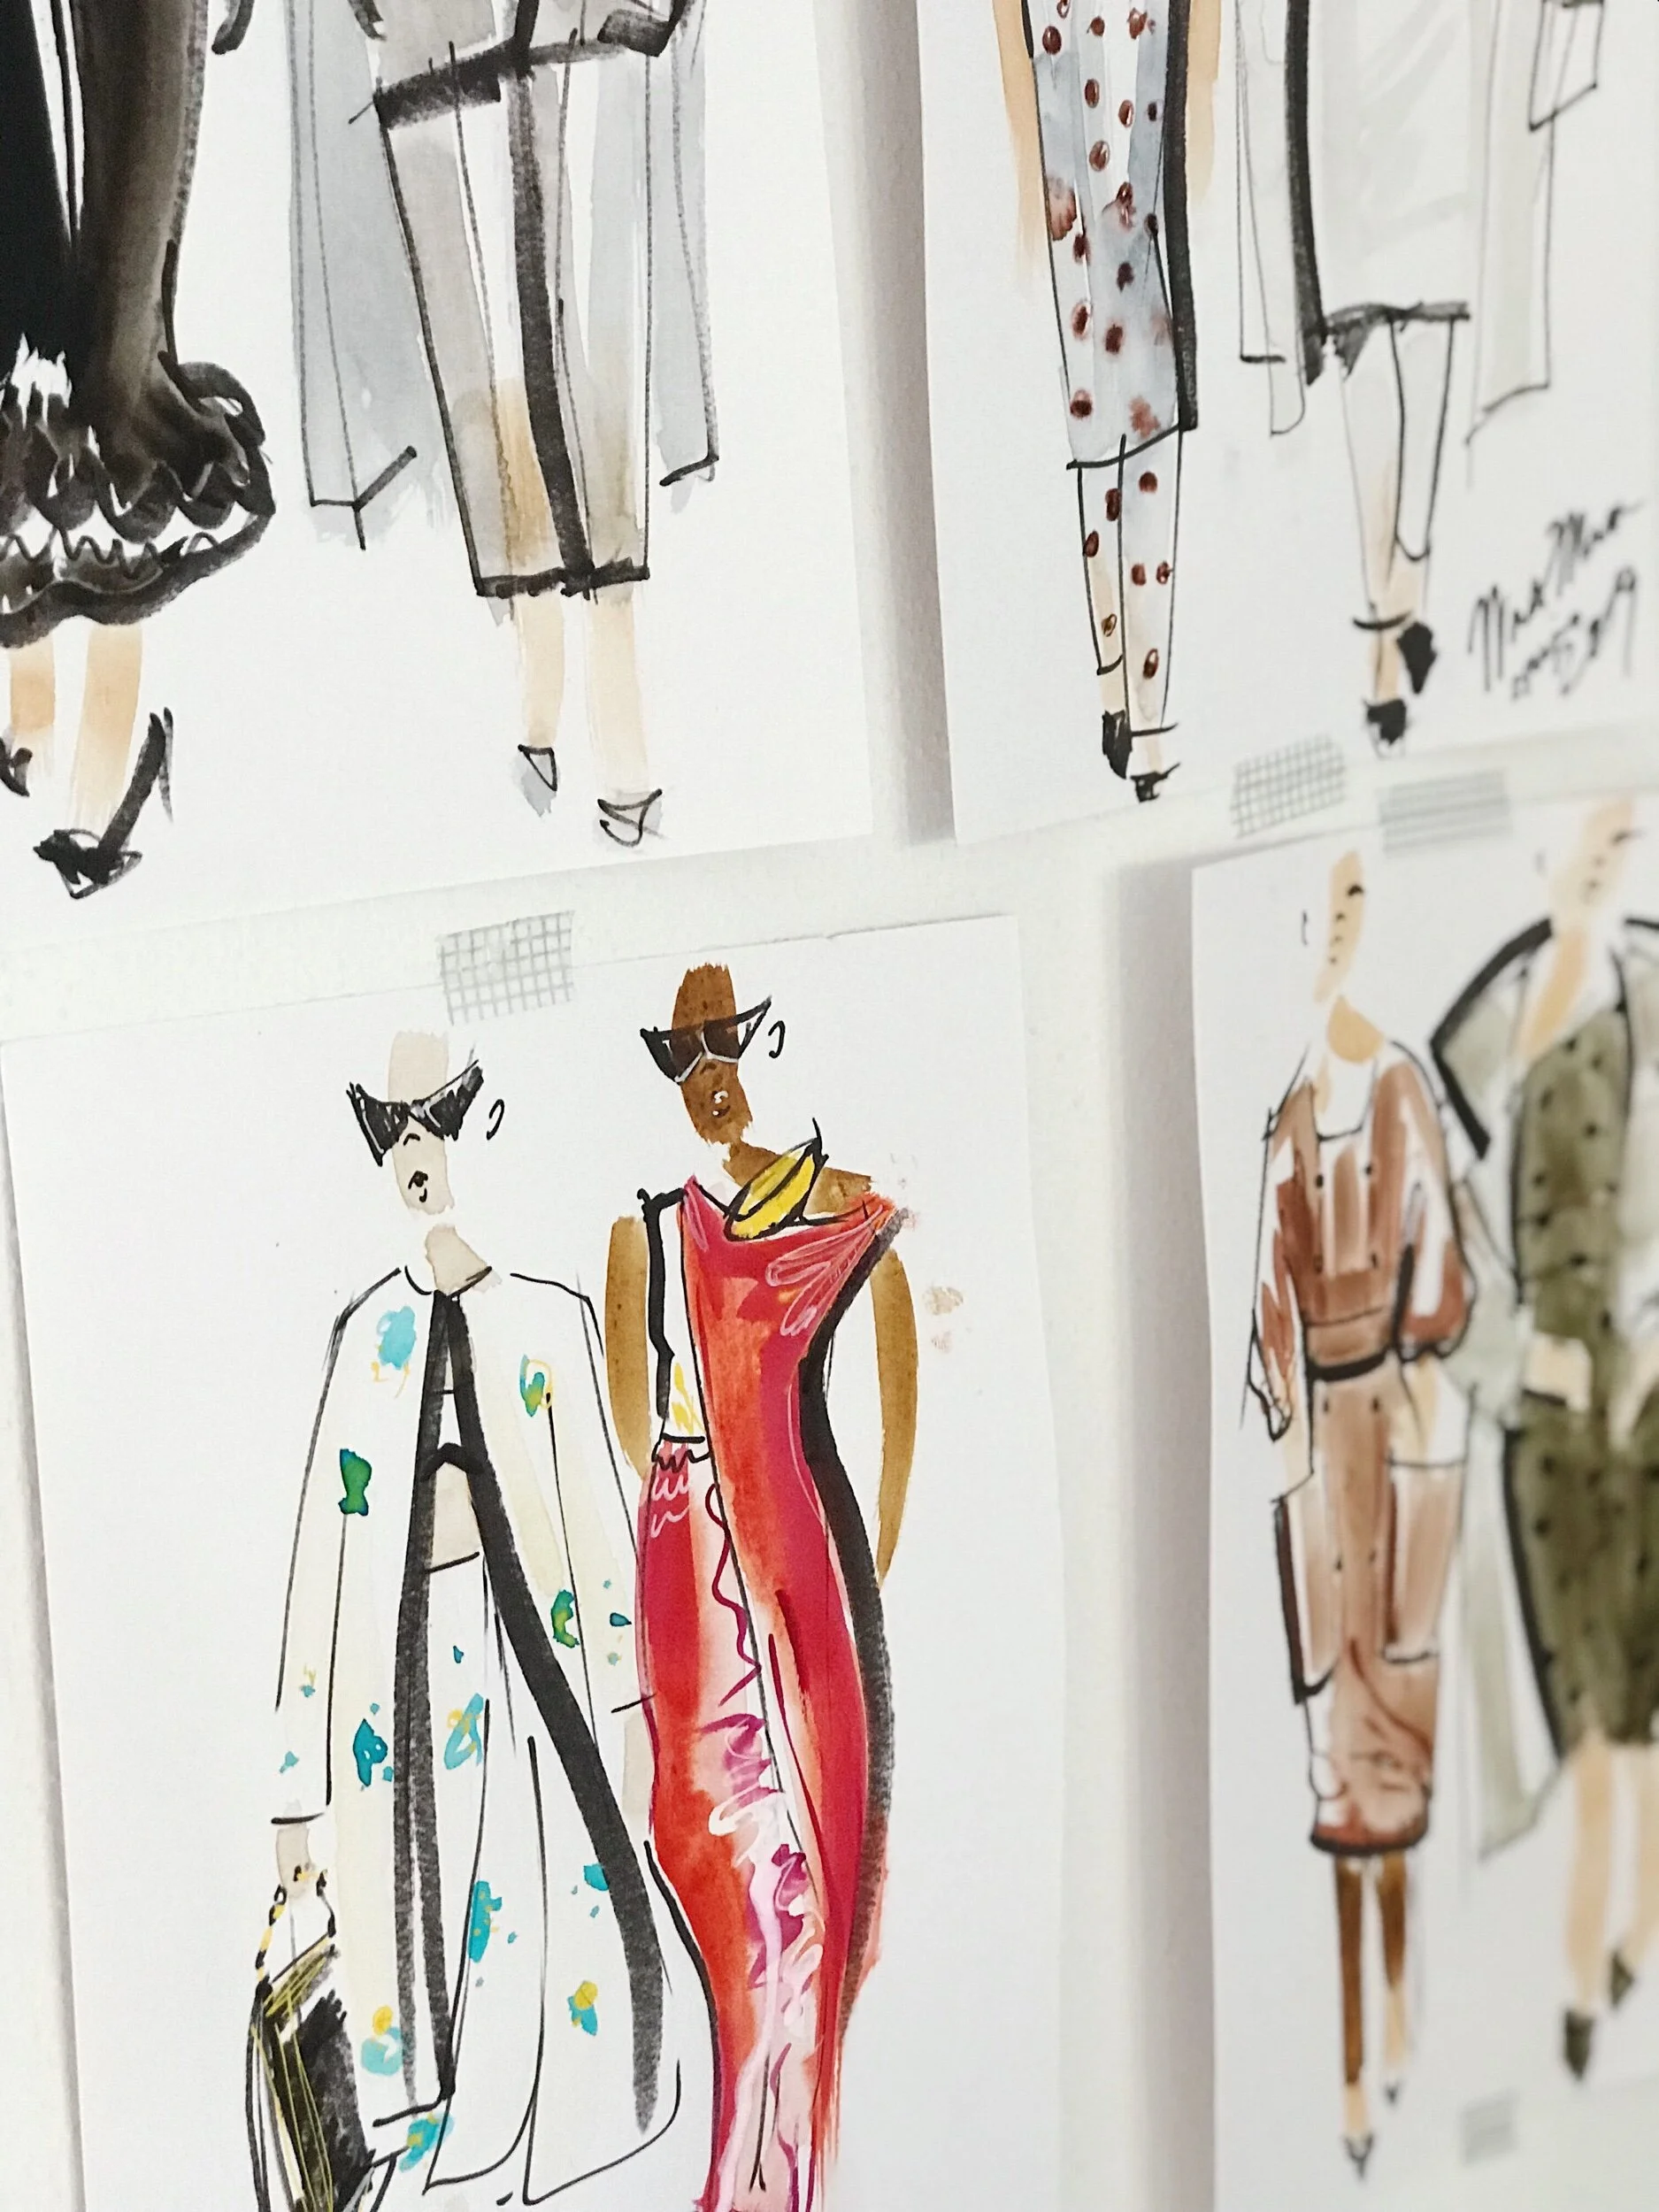
2. Sketches. While fashion sketches are gorgeous and oh-so-necessary, a pattern maker is going to want to see a tech sketch. Start with fashion sketches, then work them backwards into technical sketches that a pattern maker could work off of to create a first draft of a pattern. A technical sketch nails down specifics, like distances between design elements, types of collars, widths of sashes, ties and bows, styles of pleats, types of hems or stitching. Everyone involved in the product development process will refer back to this sketch.
3. Tech Packs. Your technical sketch becomes page one of your tech pack. A tech pack is considered a bible when it comes to making the garment. It will house every technical specification you need to have it patterned, sampled, and eventually manufactured... anywhere in the world. Every single garment you’ll ever have manufactured must have its own tech pack. No tech pack… no go. If your pack is missing a bill of materials, an order of operations, a spec sheet, or a technical sketch, it’s not ready, and your development team is going to be stuck.
4. Fabric & Notions. Your tech sketch is going to help you narrow down what fabrics will work to achieve the right amount of structure or drape you’re looking for. This step is best expedited by bringing on a wholesale fabric consultant, since they usually have access to a long list of wholesalers, and a bookcase full of swatches. You’ll be able to flip through swatches curated specifically for your designs, and after approving swatches, you’ll order sample yardage.
5. Patterns. Patterns get drafted off sketch and garment measurements. Your garment measurements are the measurements of the actual garment - not the body. Your garment measurements are selected after knowing your sample size’s body measurements.
Psstt want a free female body measurement sheet? Click here.
6. Sampling. Create a first sample for every design. Once the first round of samples is complete, you’ll schedule a fitting with your fit models so you can see the clothes on the body. We’re not necessarily concerned with finishings or stitches at this point - just fit, where the seam lines fall, and how well the fabric is agreeing with the pattern.
This is the stage where we move seams, adjust fit, and ensure the garment settles and wears as it should. We get super critical about pocket depths, bra inserts, fabric memory and drape - you name it, we pin it or make a note. Once this step is done, we’ll return to the pattern and make our changes before running another sample and finalize the finishings. This process repeats again and again until the sample is flawless.
*designers who aren’t clear on exactly what they want end up running lots of samples, so getting super clear from the start about your vision will save you lots of money in the sampling process*
7. Pattern grading and digitization. This ones mission critical. Find a grader you trust who can grade your pattern across your size ranges and get you manufacturing-ready. You’ll need to know what your grade rules going to be, as well as what size range you want to grade across. This step prepares your patterns for manufacturing.
8. Nail down your supply chain. Read this resource! It’ll tell you everything you need to know about building a reliable, scalable supply chain, from fabrics to manufacturers to care tags.
Once these eight steps are set in stone, the real work begins. Time to manufacture, package, brand & market your line!


