
How to make a bridesmaid dress fit
Making a dress bigger in the bodice is a pretty popular and inconvenient problem.. and with how many different bridesmaid dress retailers there are these days, women of all shapes and sizes have been there. The bride chose the most darling bridesmaid's dress off a random site deep in the black hole of internet and you have no idea if the dang thing is even going to arrive on time. And when it does, it's a week before you have to fly out for wedding #1 of wedding season. It arrives in the mail with a million stamps on it and you shred the packaging just to release it from it's far-too-small for who knows how long confinement.
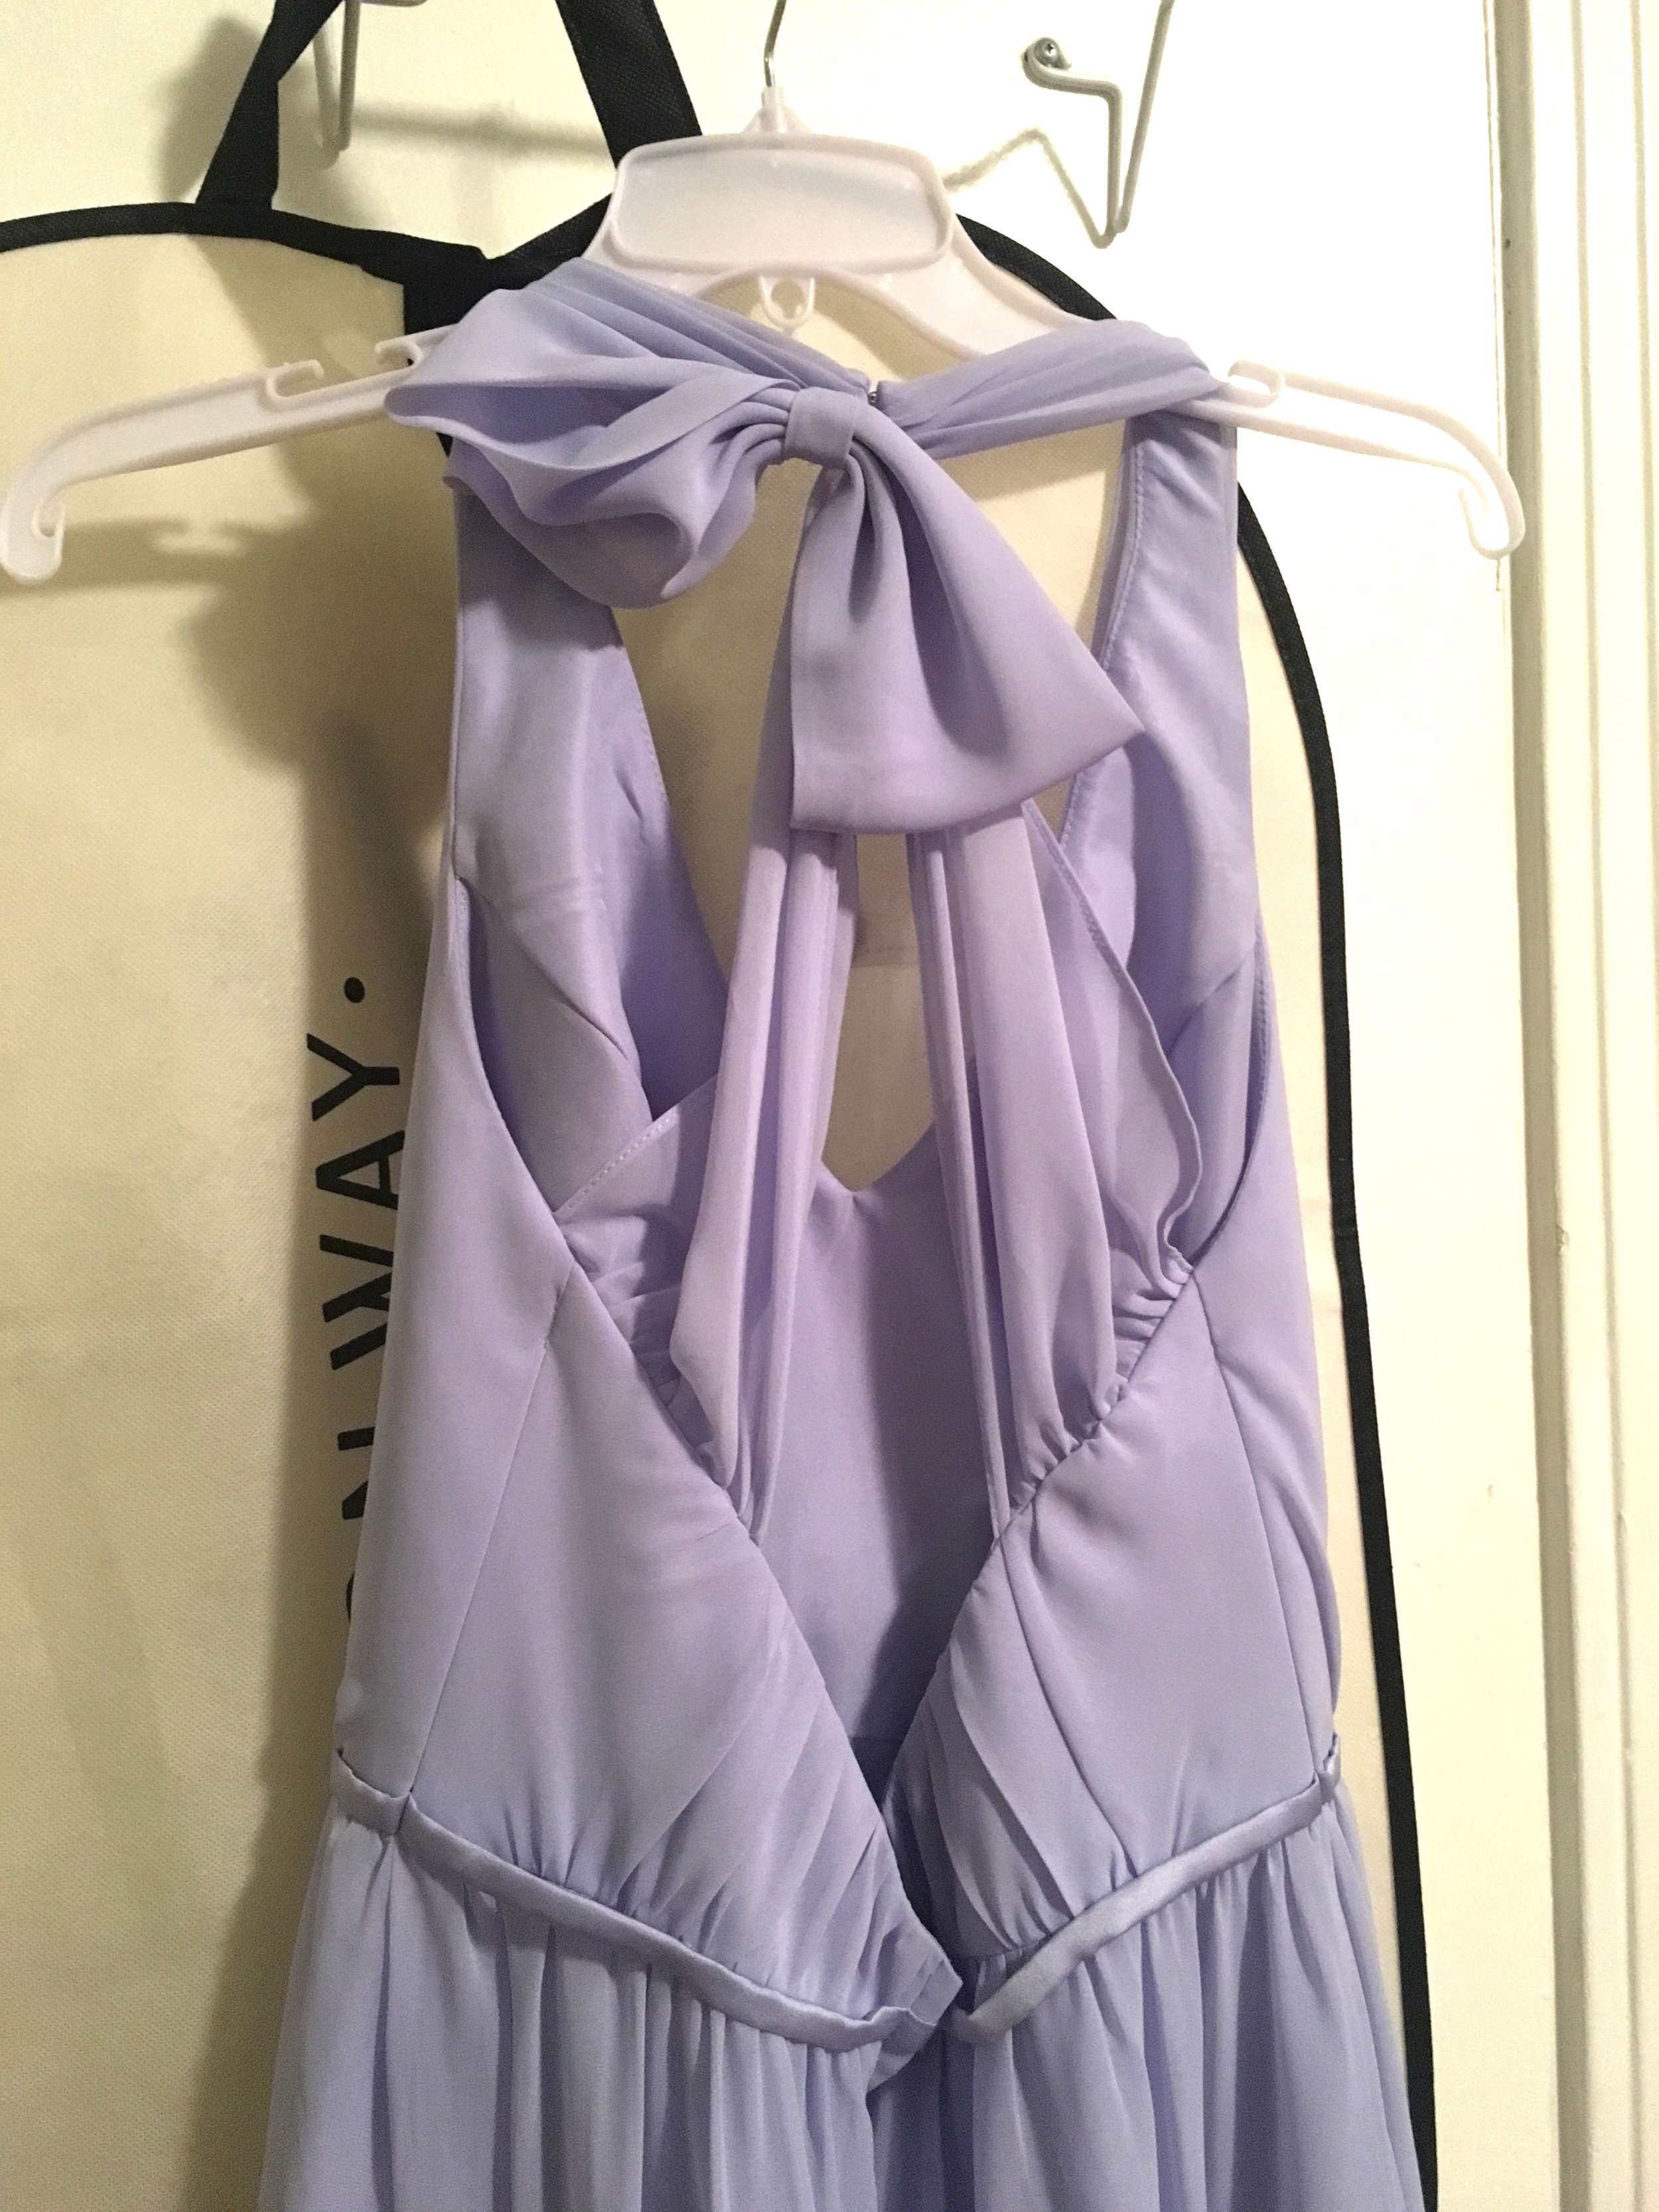
Whew. It's the right color. You yank the zipper open and step into it to give it a test drive, and just as it's nearly all zipped up.. wait. no. NO. This isn't happening.. It won't zip.

You crane your neck like a giraffe to get a glimpse in the mirror. The mirror MUST have a problem. Because that fun house mirror reveals the top part of zipper won't shut, and it's miles away from doing so. Crap. No time to return it, no one locally sells the same dress so you can go up a size, and unless it's a winter wedding that involves shawls, coverlets, or jackets, it's not gonna fly. So you only have one option.. Dress sergery. (Hehe SORRY)
This week my well-endowed friend met this exact problem, so being in a pinch with no choice but to make it happen for her, I wanted to document just how ANYONE can go about doing this alteration. If it's not a bridesmaid dress, but you still need more room for the girls in the bust area, this blog's for you. This isn't the only way to do it. This is just the fastest way for me to get the job done, so if a different part of the internet has a better way, by all means, listen to them too!
The first thing I'd recommend doing is hitting up your local fabric store, and testing different linings underneath the chiffon. When you can't match the liner identically, it's best to use good light to ensure your panels won't vary in color from the rest of the dress. If the dress is so long that the liner can also be taken up, and not just the chiffon, this would be ideal to take your excess fabric from there. A white cotton lining is going to lighten the color of a purple dress more than a purple lining would, so it's critical you have the actual dress with you when it comes time to choosing lining. Here's what you do:
Step 1
Try the dress on and find out just how short the dress comes from zipping all the way up, comfortably. Most <em>bridesmaids</em> dresses have an additional 1" of fabric at each side seam to work with. If, at the top of the zipper, you're 5" from closure (#blessed), and the waistband is 2" from closing comfortably, then the inside of that dress isn't going to have enough to let out. So our project is going adding fabric in between those side seams. For my example, we need to add 5" of room for the girls at the top of the dress. So we start by dividing that number by 2. I'm a math wiz so I know that means the apex of my added strips of fabric must be 2.5" without seam allowances. But here's the catch- if you have no extra fabric, you only get one shot at making this thing happen. If you're truly in a pinch, there's no extra fabric to play with. You've got to get it right on the first cut, because you're going to take it from the bottom of the dress.
😱

Step 2
Measure how much hem you can comfortably take up.
In this case, when there's no matching chiffon within a 50 mile radius, and I need 3" minimum-width panels of chiffon, then that's the amount I'm going to have to take off from the length. So in this instance, she'll be wearing flats next week instead of heels. Consider your shoe options before you cut, and know it's going to be critical in keeping your bridezilla at bay. By putting this bridesmaid in flats, I've just given myself an excess 3.5" at the bottom of the dress, and that precious 3.5" is going to serve us as our panels to ease open the bust line on the sides of the dress.
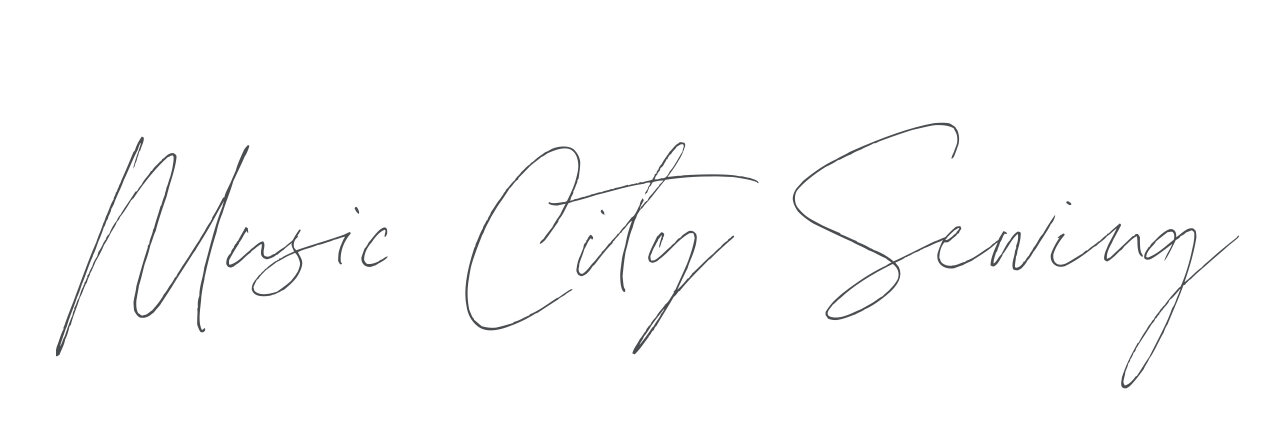
By using a rolled hem foot, you get to skip the process of folding, pressing, folding, pressing, sewing, AND you can eek 1/8" into a bottom hem and give yourself the rest of the chiffon for your inserts. So first, give yourself as little fabric left at the bottom to hem (1/8"), and use a rotary cutter to get a perfectly even strip of fabric from the bottom of the dress, because you're going to need every precious inch. I used a 2mm rolled hem foot here and flew through the entire hem in 8 minutes flat.
If your liner needs to be hemmed as well, you can do it the same way, and you'll be able to use the cut-off fabric for the other triangles.
Step 3
Carefully use a seam ripper to open up the sides of the dress/garment. <strong>TIP: Do not pull apart the liner yet. Chiffon is delicate, the more you pull apart/the longer pieces are pulled apart, they tend to fray/ravel/be difficult to deal with later.</strong> If you have a mannequin, stretch the dress over it. If not, take the distance of how far the zipper was from being closed, and divide it by two. That's the apex measurement you'll use for the width of this additional piece. Grab a piece of paper and mark out just how much space needs to be added to the top of the dress vs. the waistline. This will look like A. a triangle if just the bust needs to be let out or B. a strip if both the waist & bust must be let out (with a tapered bottom).


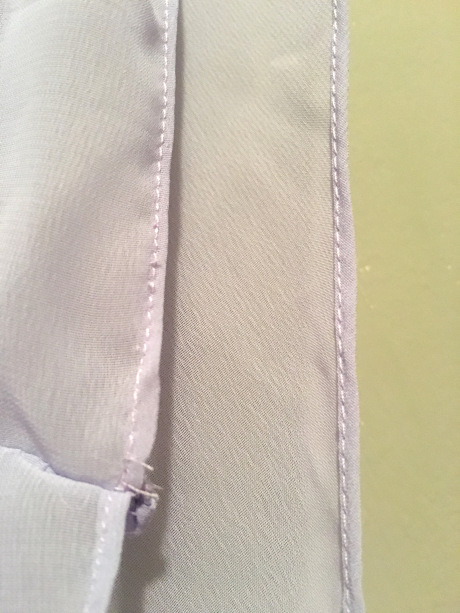
You should be able to eyeball it and see where the dress should naturally lay. If the top band needs to be 5" larger, then the 2.5" measurement (one for each side) must be applied to the top of your sideways triangle. The paper isn't to get the measurement right - it's to get the shape.
After all, you've only got enough chiffon to give this ONE shot. I did manage to get a pic of how my paper triangle fits the dress before I cut it open.</h5>
If you need to ease the waist and the bust, account for this and add an additional inch to the width. In this case, We added 3" to the top (2.5" plus a 1/4" seam allowance all the way around) and zero to the waist (so half an inch at the end). Draw out the perfect triangle to fit the dress and measure the paper twice - or rectangle if the waist must also be eased. DO THIS SEPARATELY FOR EACH SIDE. The reason for this is that no dressmaker is perfect, and when it comes to formal dresses, these are churned out quick and oftentimes aren't symmetrical. This dress was botched - when I got it open i could tell from the inside that the reason it didn't fit is an accidental cutting job. Once you've marked out perfect triangles, cut 1 from the chiffon and 2 from your liner fabric. This is so that the chiffon has an extra layer of opacity to match the rest of the dress, and you'll have a second one to be used as the actual dress liner.
Step 4

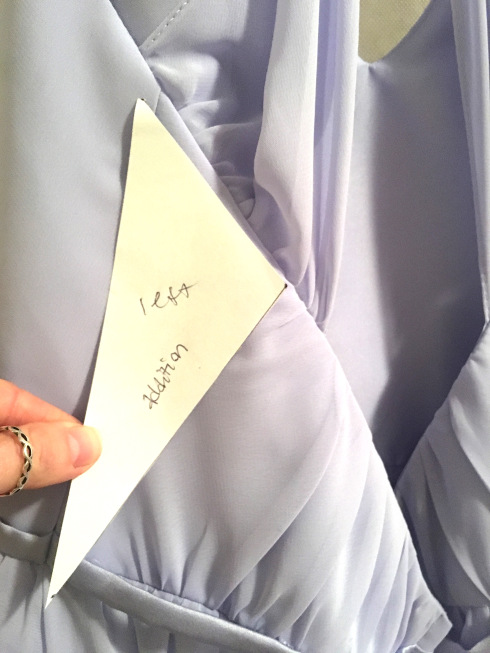
Baste the liner fabric to the chiffon with both fabric fronts facing out (in the order they should appear in the finished product), with a 1/4" seam allowance. With right sides together, pin the triangle/rectangle insert to the FRONT panel of the dress, like this (only this is before I attached the liner fabric to the new chiffon triangle).
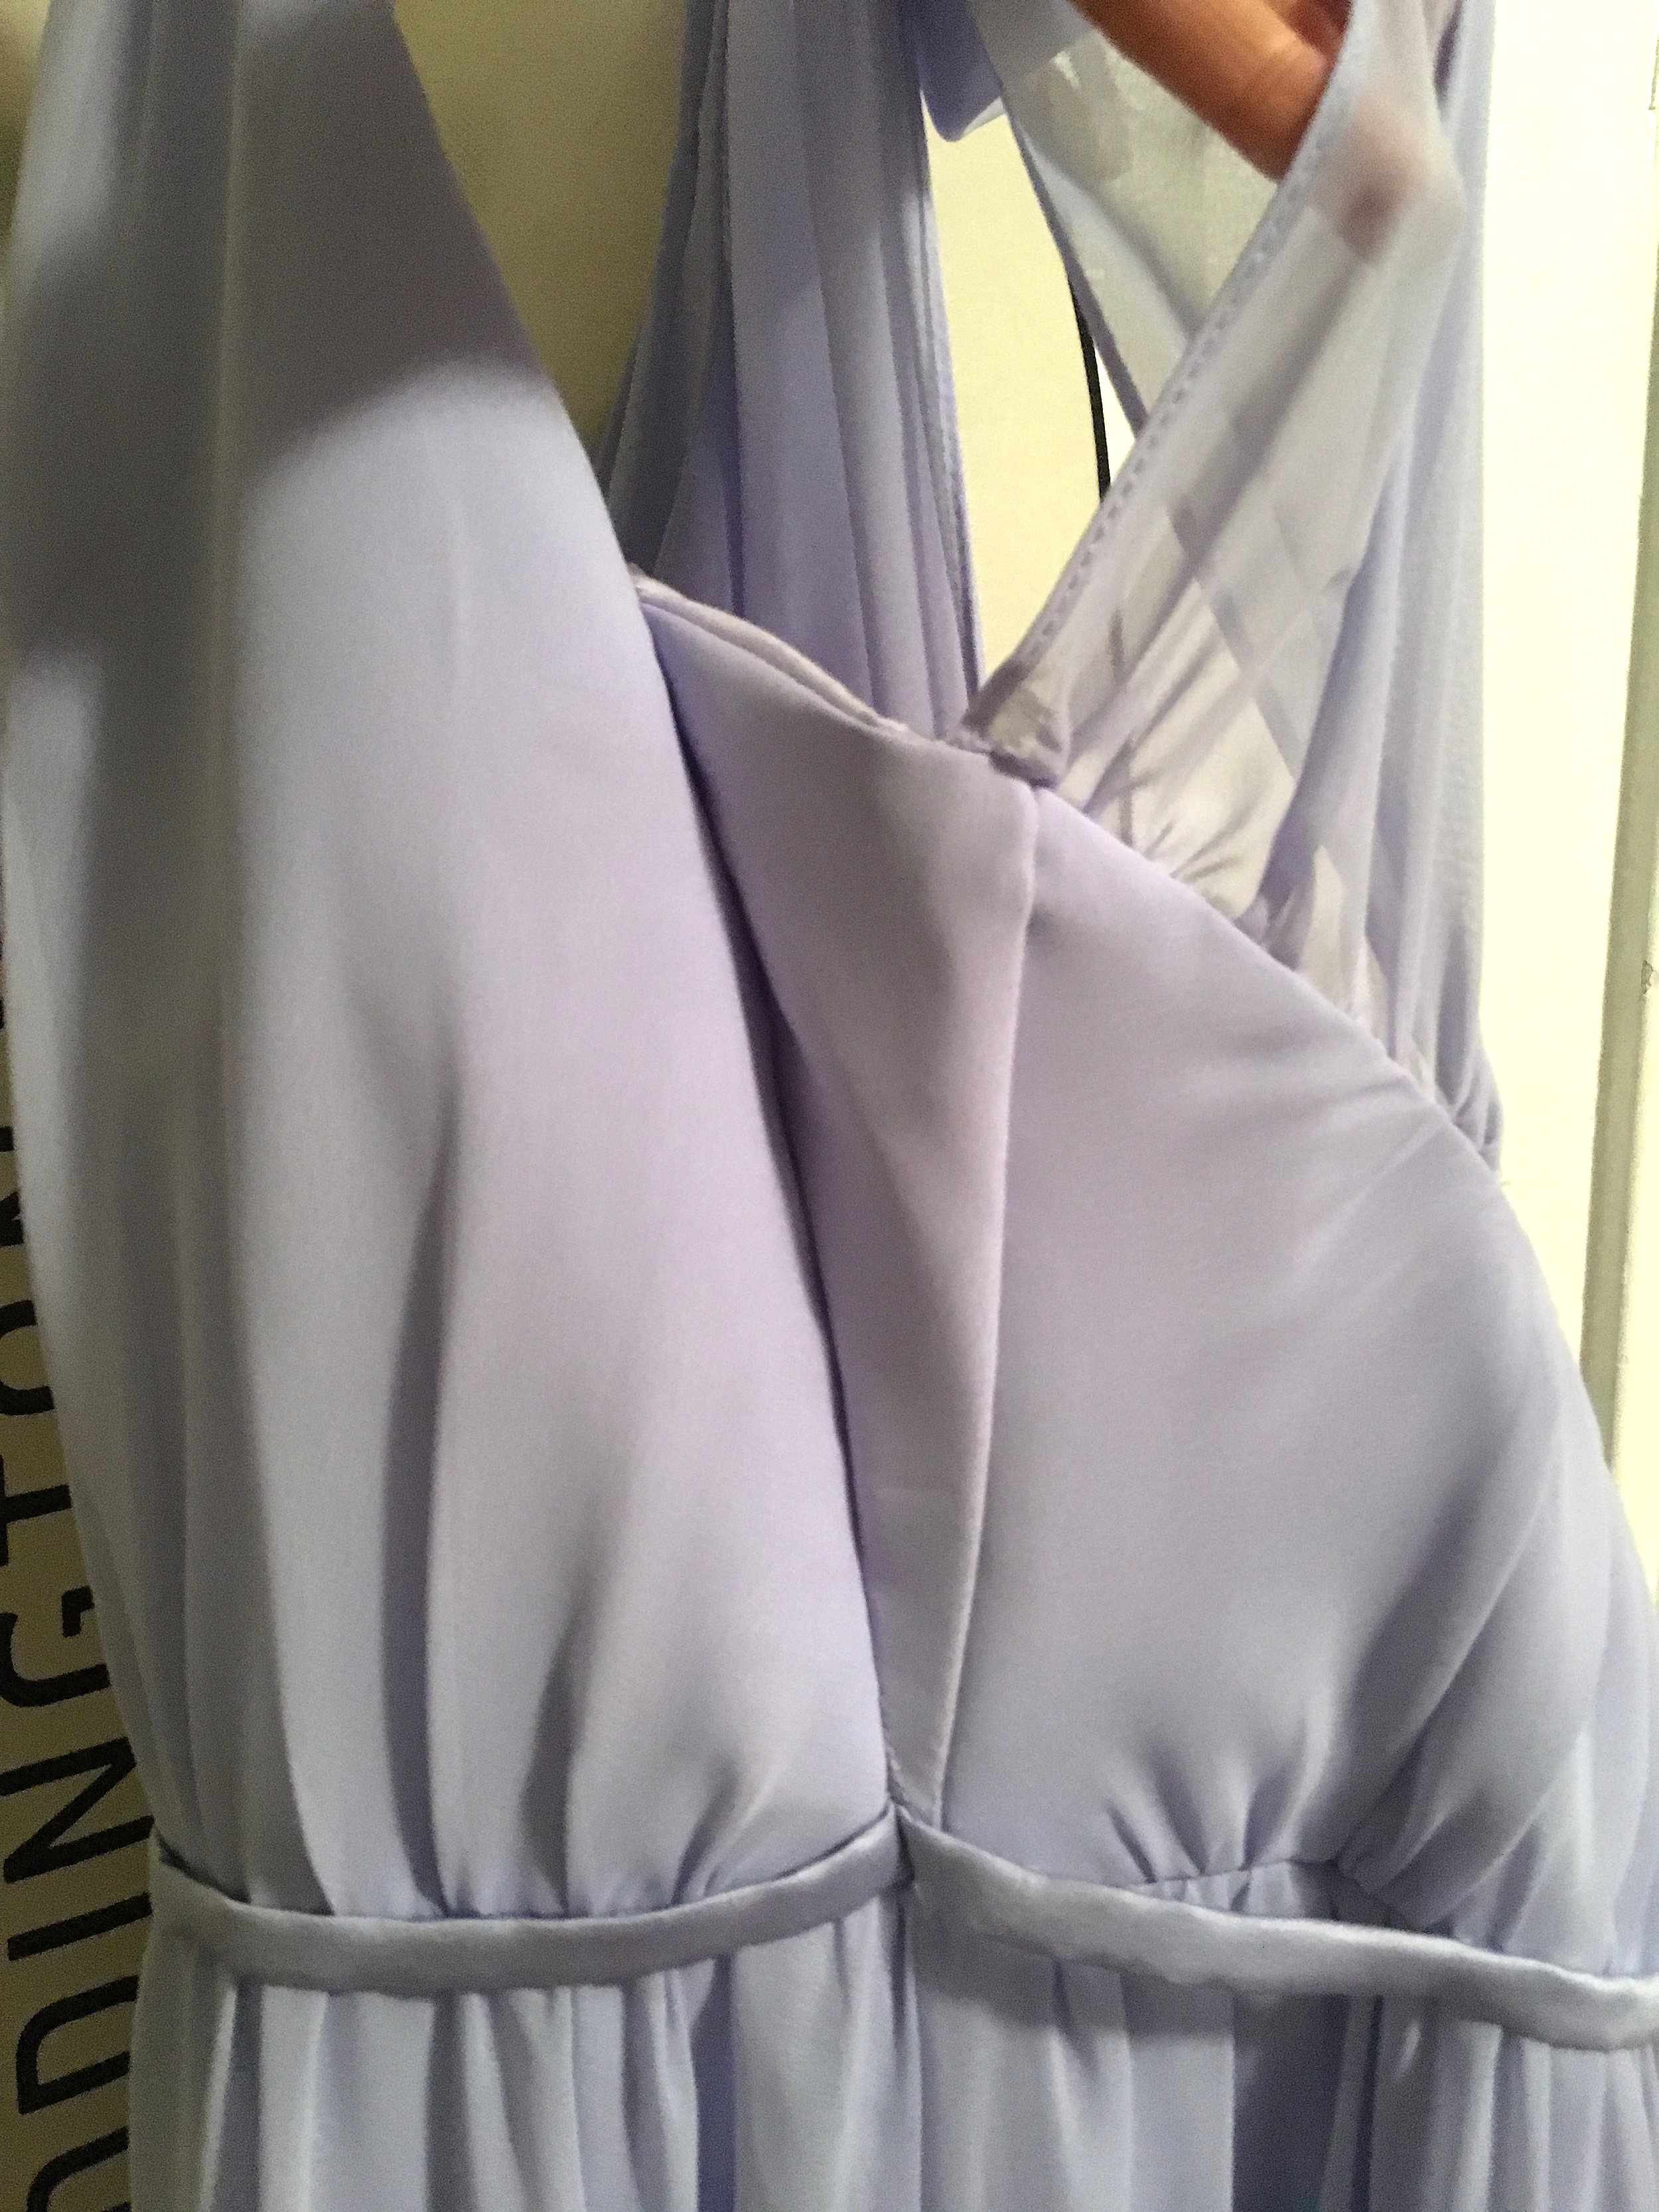
Similar to installing a zipper, you'll want to start your stitch at the waistline and travel up. Stitch this line with a stay stitch at both the beginning and end (yucky chiffon). Once it's sewn, flip the dress inside out so that you can do the same thing to the other side, once again starting your stitch at the waistline and sewing up towards the shoulder strap. I found it easiest to hang the dress, then baste the triangle directly into the back piece of the dress without pinning. This ensured the triangle will lay flush with both the front and back pieces of the dress, as opposed to it puckering.
Once you've got the triangle sewn to the front, and basted to the back, try it on. This ensures you won't have to take it apart and redo it again, and trust me, this extra fitting is critical. The reason being, anytime you add to the bust of a garment, there's a high probability you've changed the waistline measurement or shape of the dress. If everything fits, fantastic! Sew it in for good and move on. If not, it's time to measure again and see which part needs altering. You may have to pull more fabric from the initial dress hemline, or skinny up your seams, but either way, it's important to get the fit right before sewing in the final side and applying a patch to the lining too.
Step 5
Iron your new seams flat. Iron it on the inside. Iron the outside. Iron err'thang. Chiffon won't know how to lay unless you tell it, so tell that fabric who's boss early before it gets a mind of its own and you can't do anything about it because you've already closed the dress up.
Step 6
Take your second piece of liner fabric and, right sides together, sew a seam across the TOP of your triangle (the part that faces north). Then flip it across the dress, back towards the zipper and pin the lining to the back piece's dress lining, and sew that line. Your liner triangle should now be finished on the top edge, and on the edge connected to the piece facing the zipper. Once yours looks like that (sorry no pics- I suck sometimes), iron the top of the dress so that the liner lays pretty and flat to the inside. You can then whip-stitch the side of the triangle that faces the front of the dress to the dress's front lining panel. This should entirely close in your dress and leave you with a far better-fitting frock :)
Run an iron over it once more and don't be scared to catch the bouquet!


