
In the studio: making a custom Roxie Hart dress
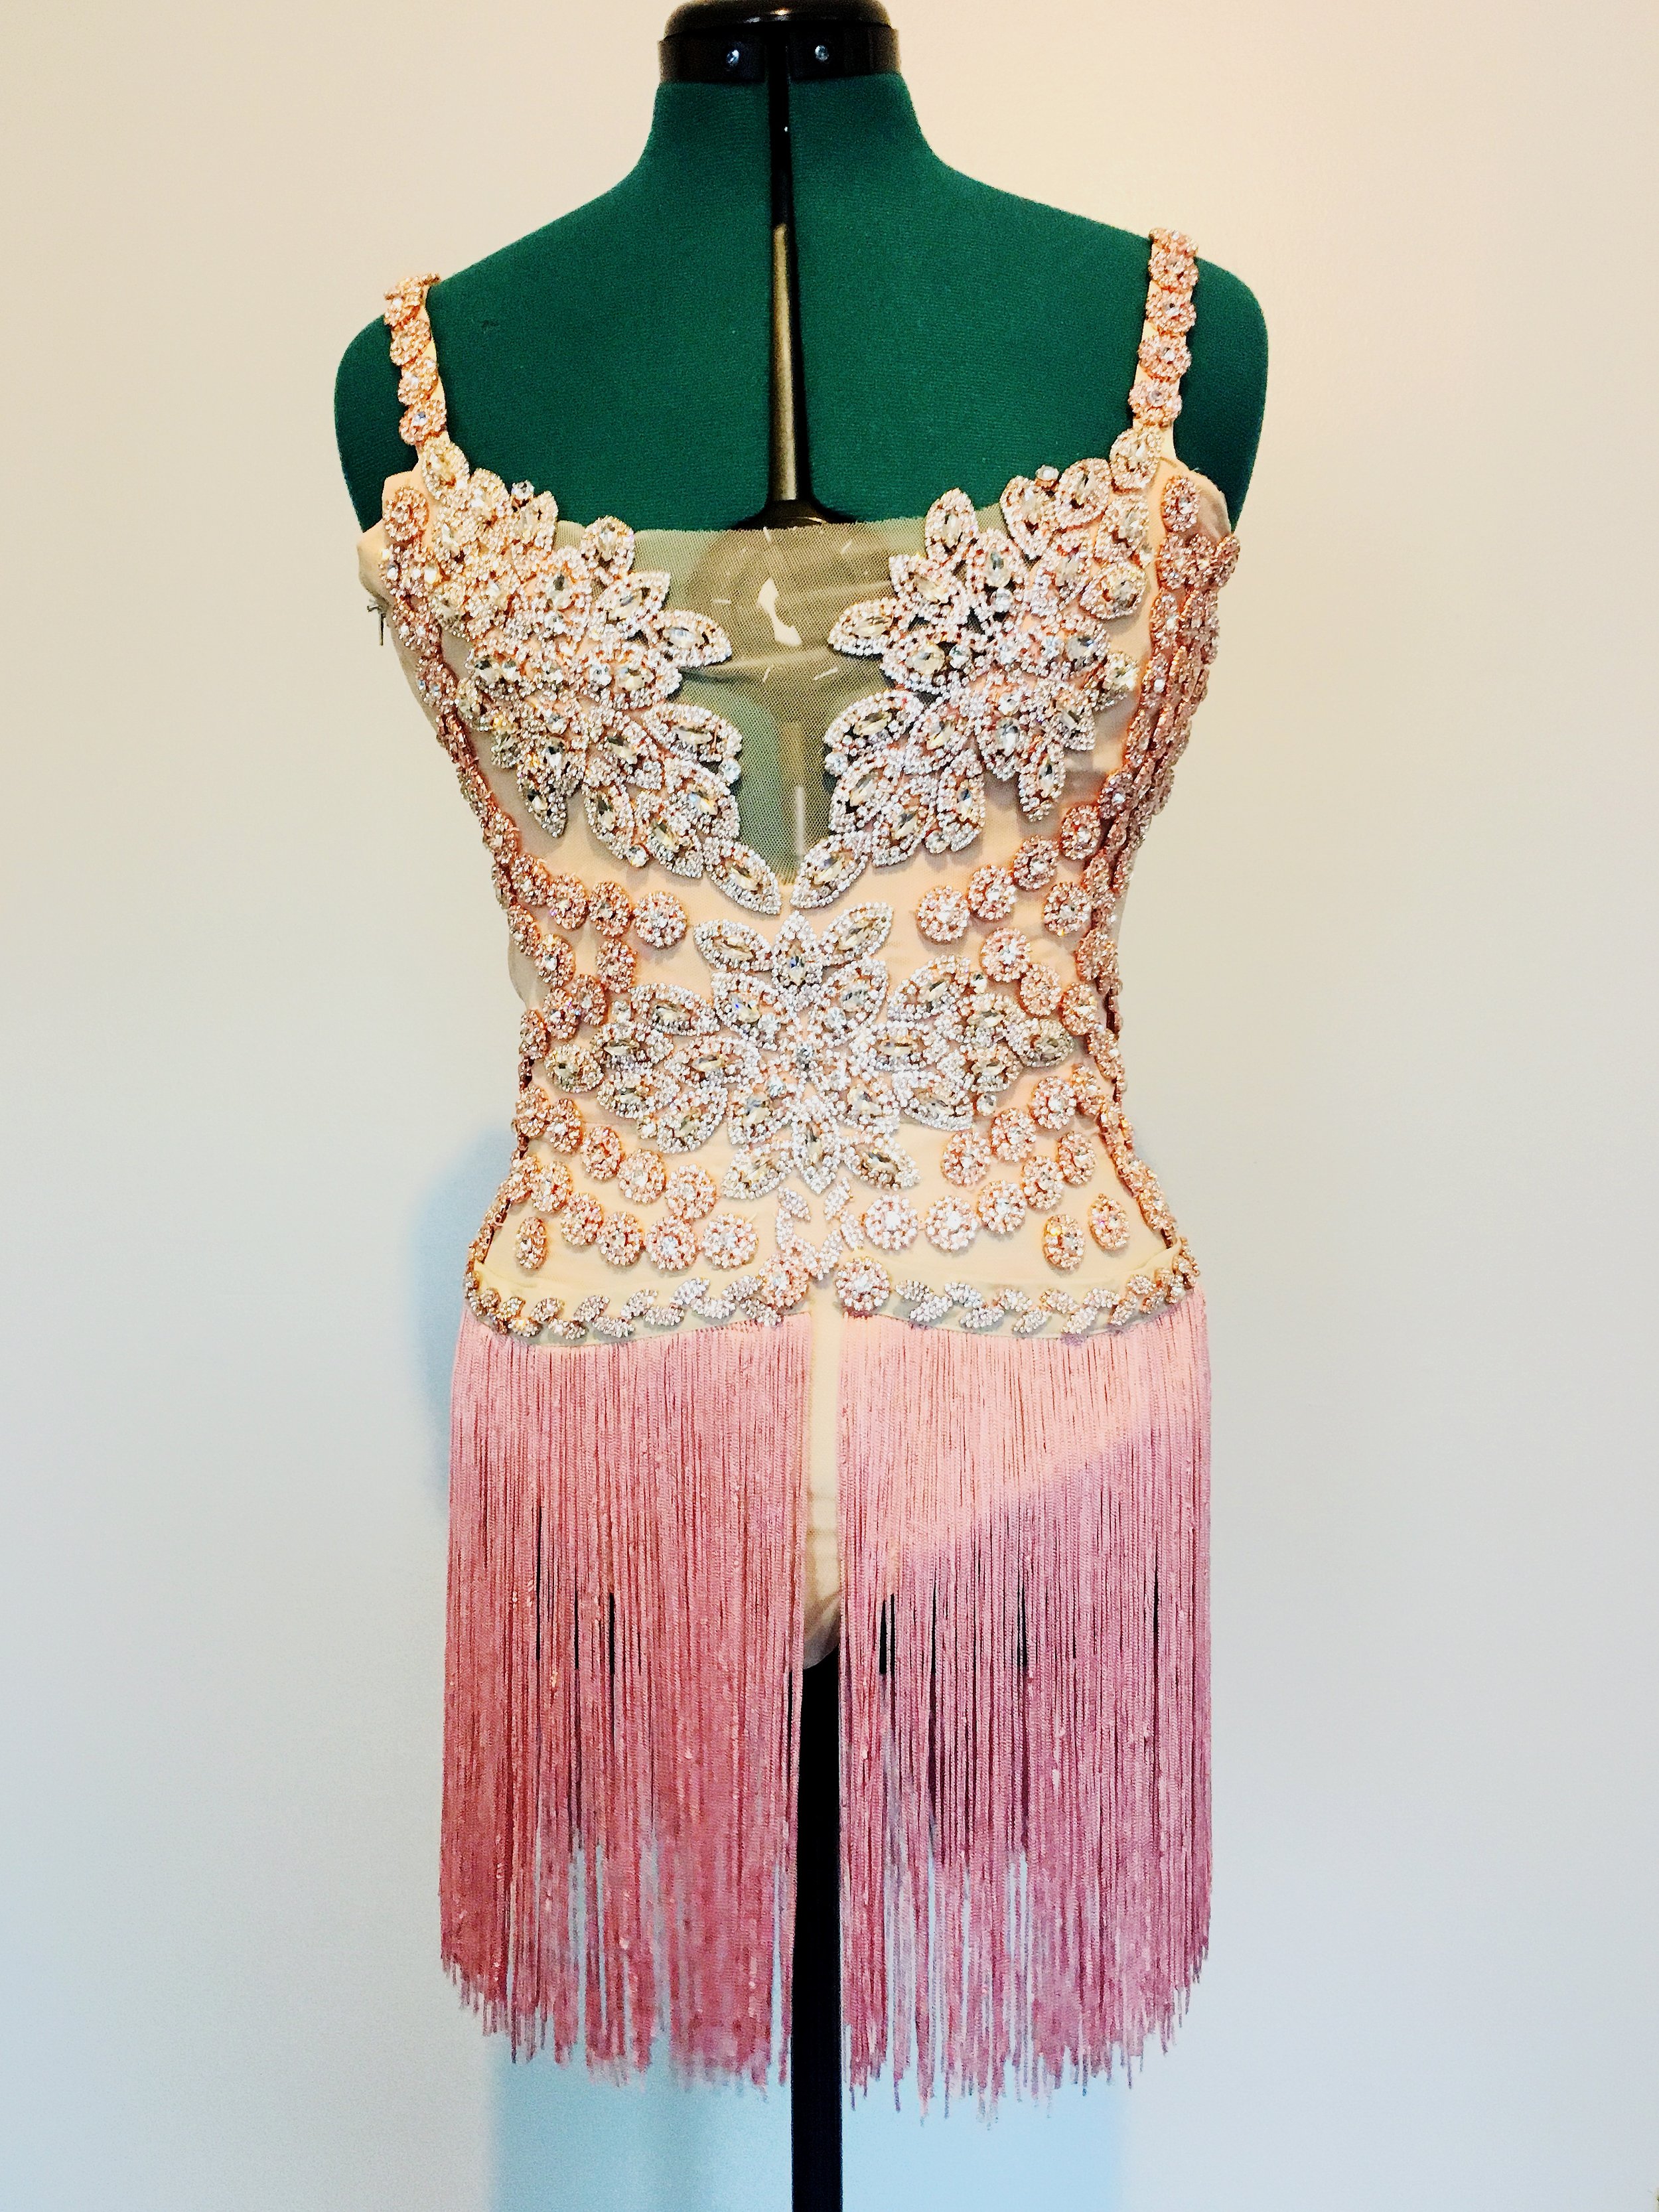
Timber Rose rolled up to the studio with a Pinterest board and some big ideas. For our first major project together, she wanted her dream dress - a Roxie Hart-inspired rhinestone dress. After drawing out the idea, we immediately noticed some flaws about the dress that would get in the way of her dancing, mobility, and, ahem, stripping.
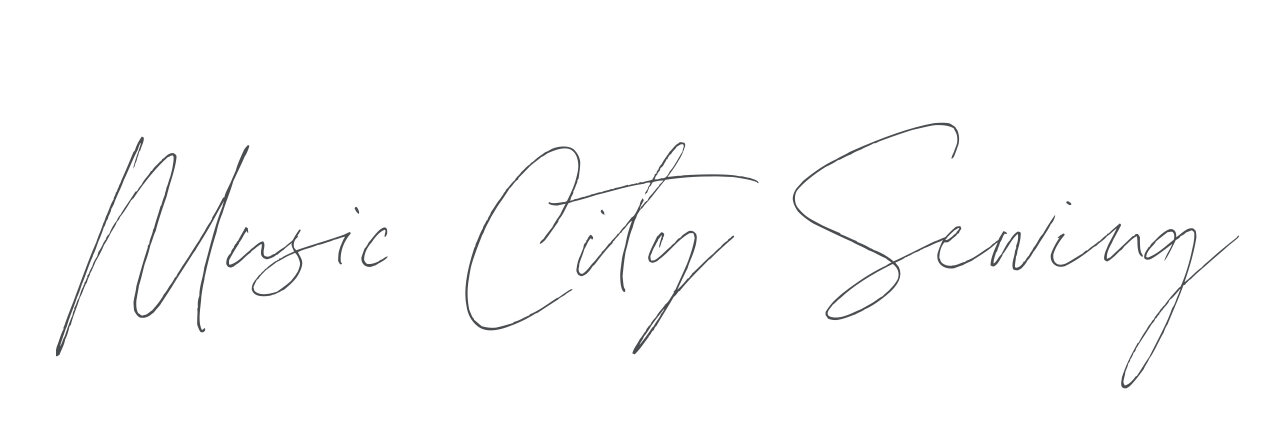
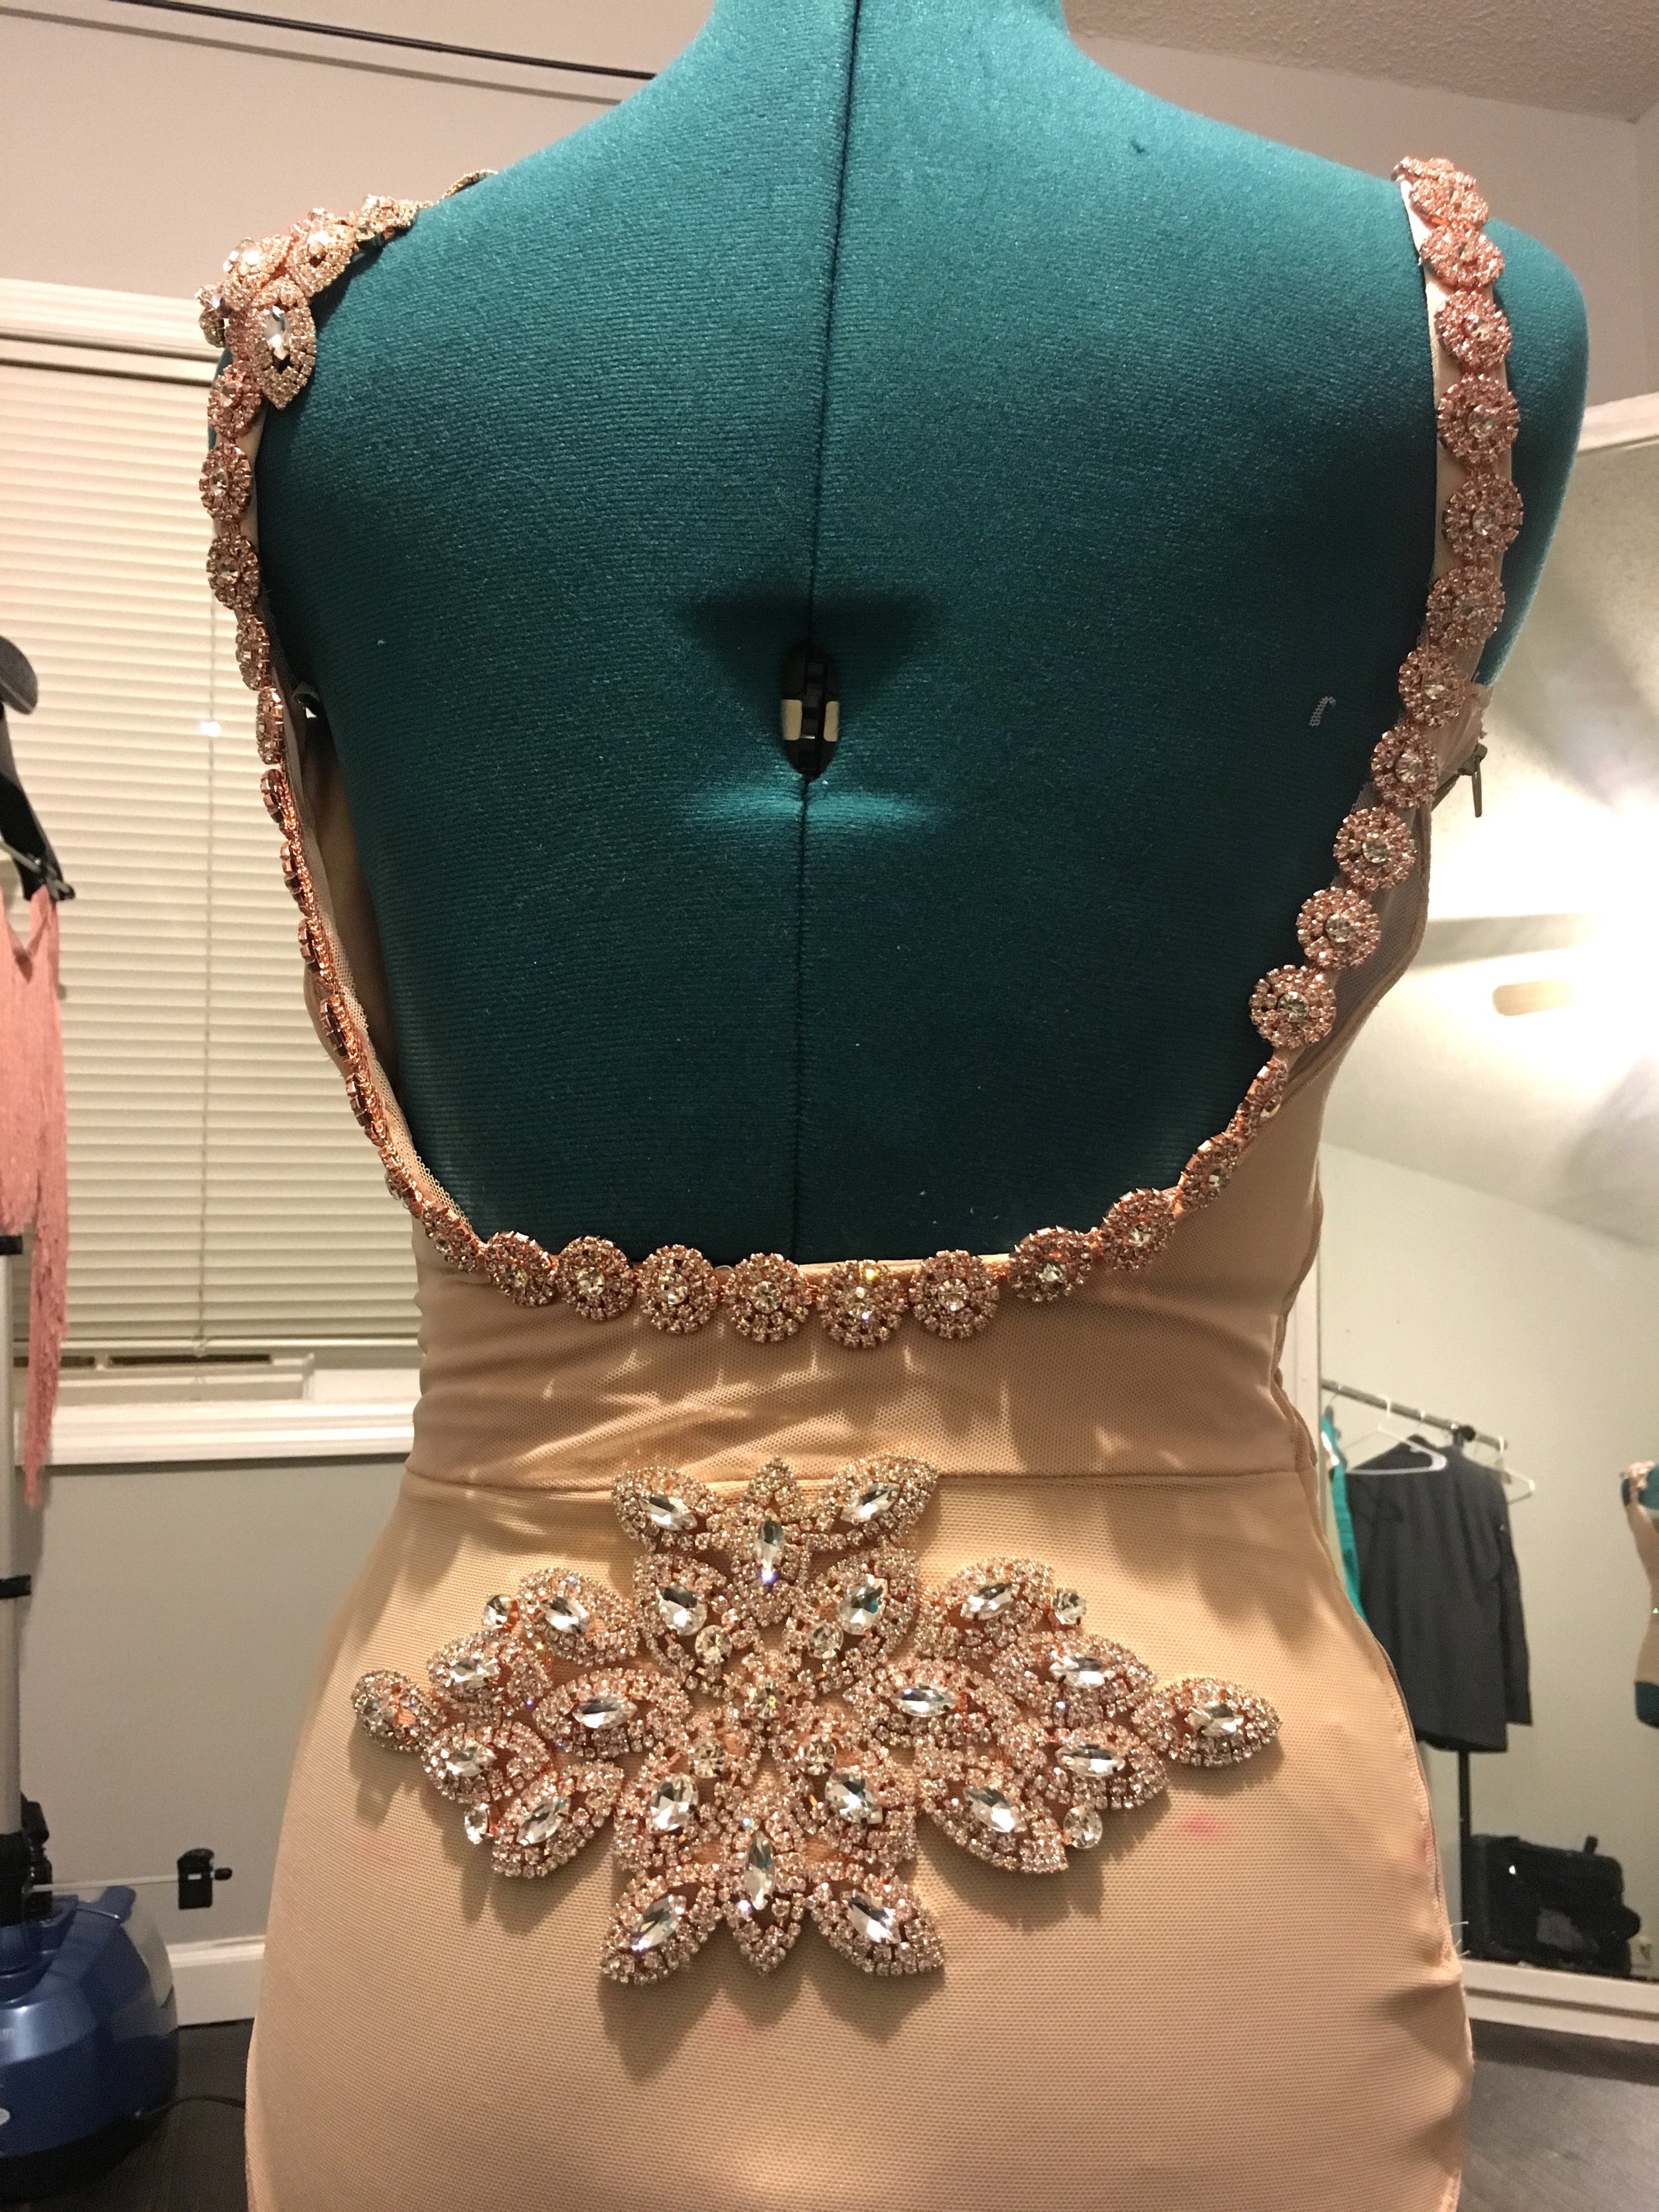
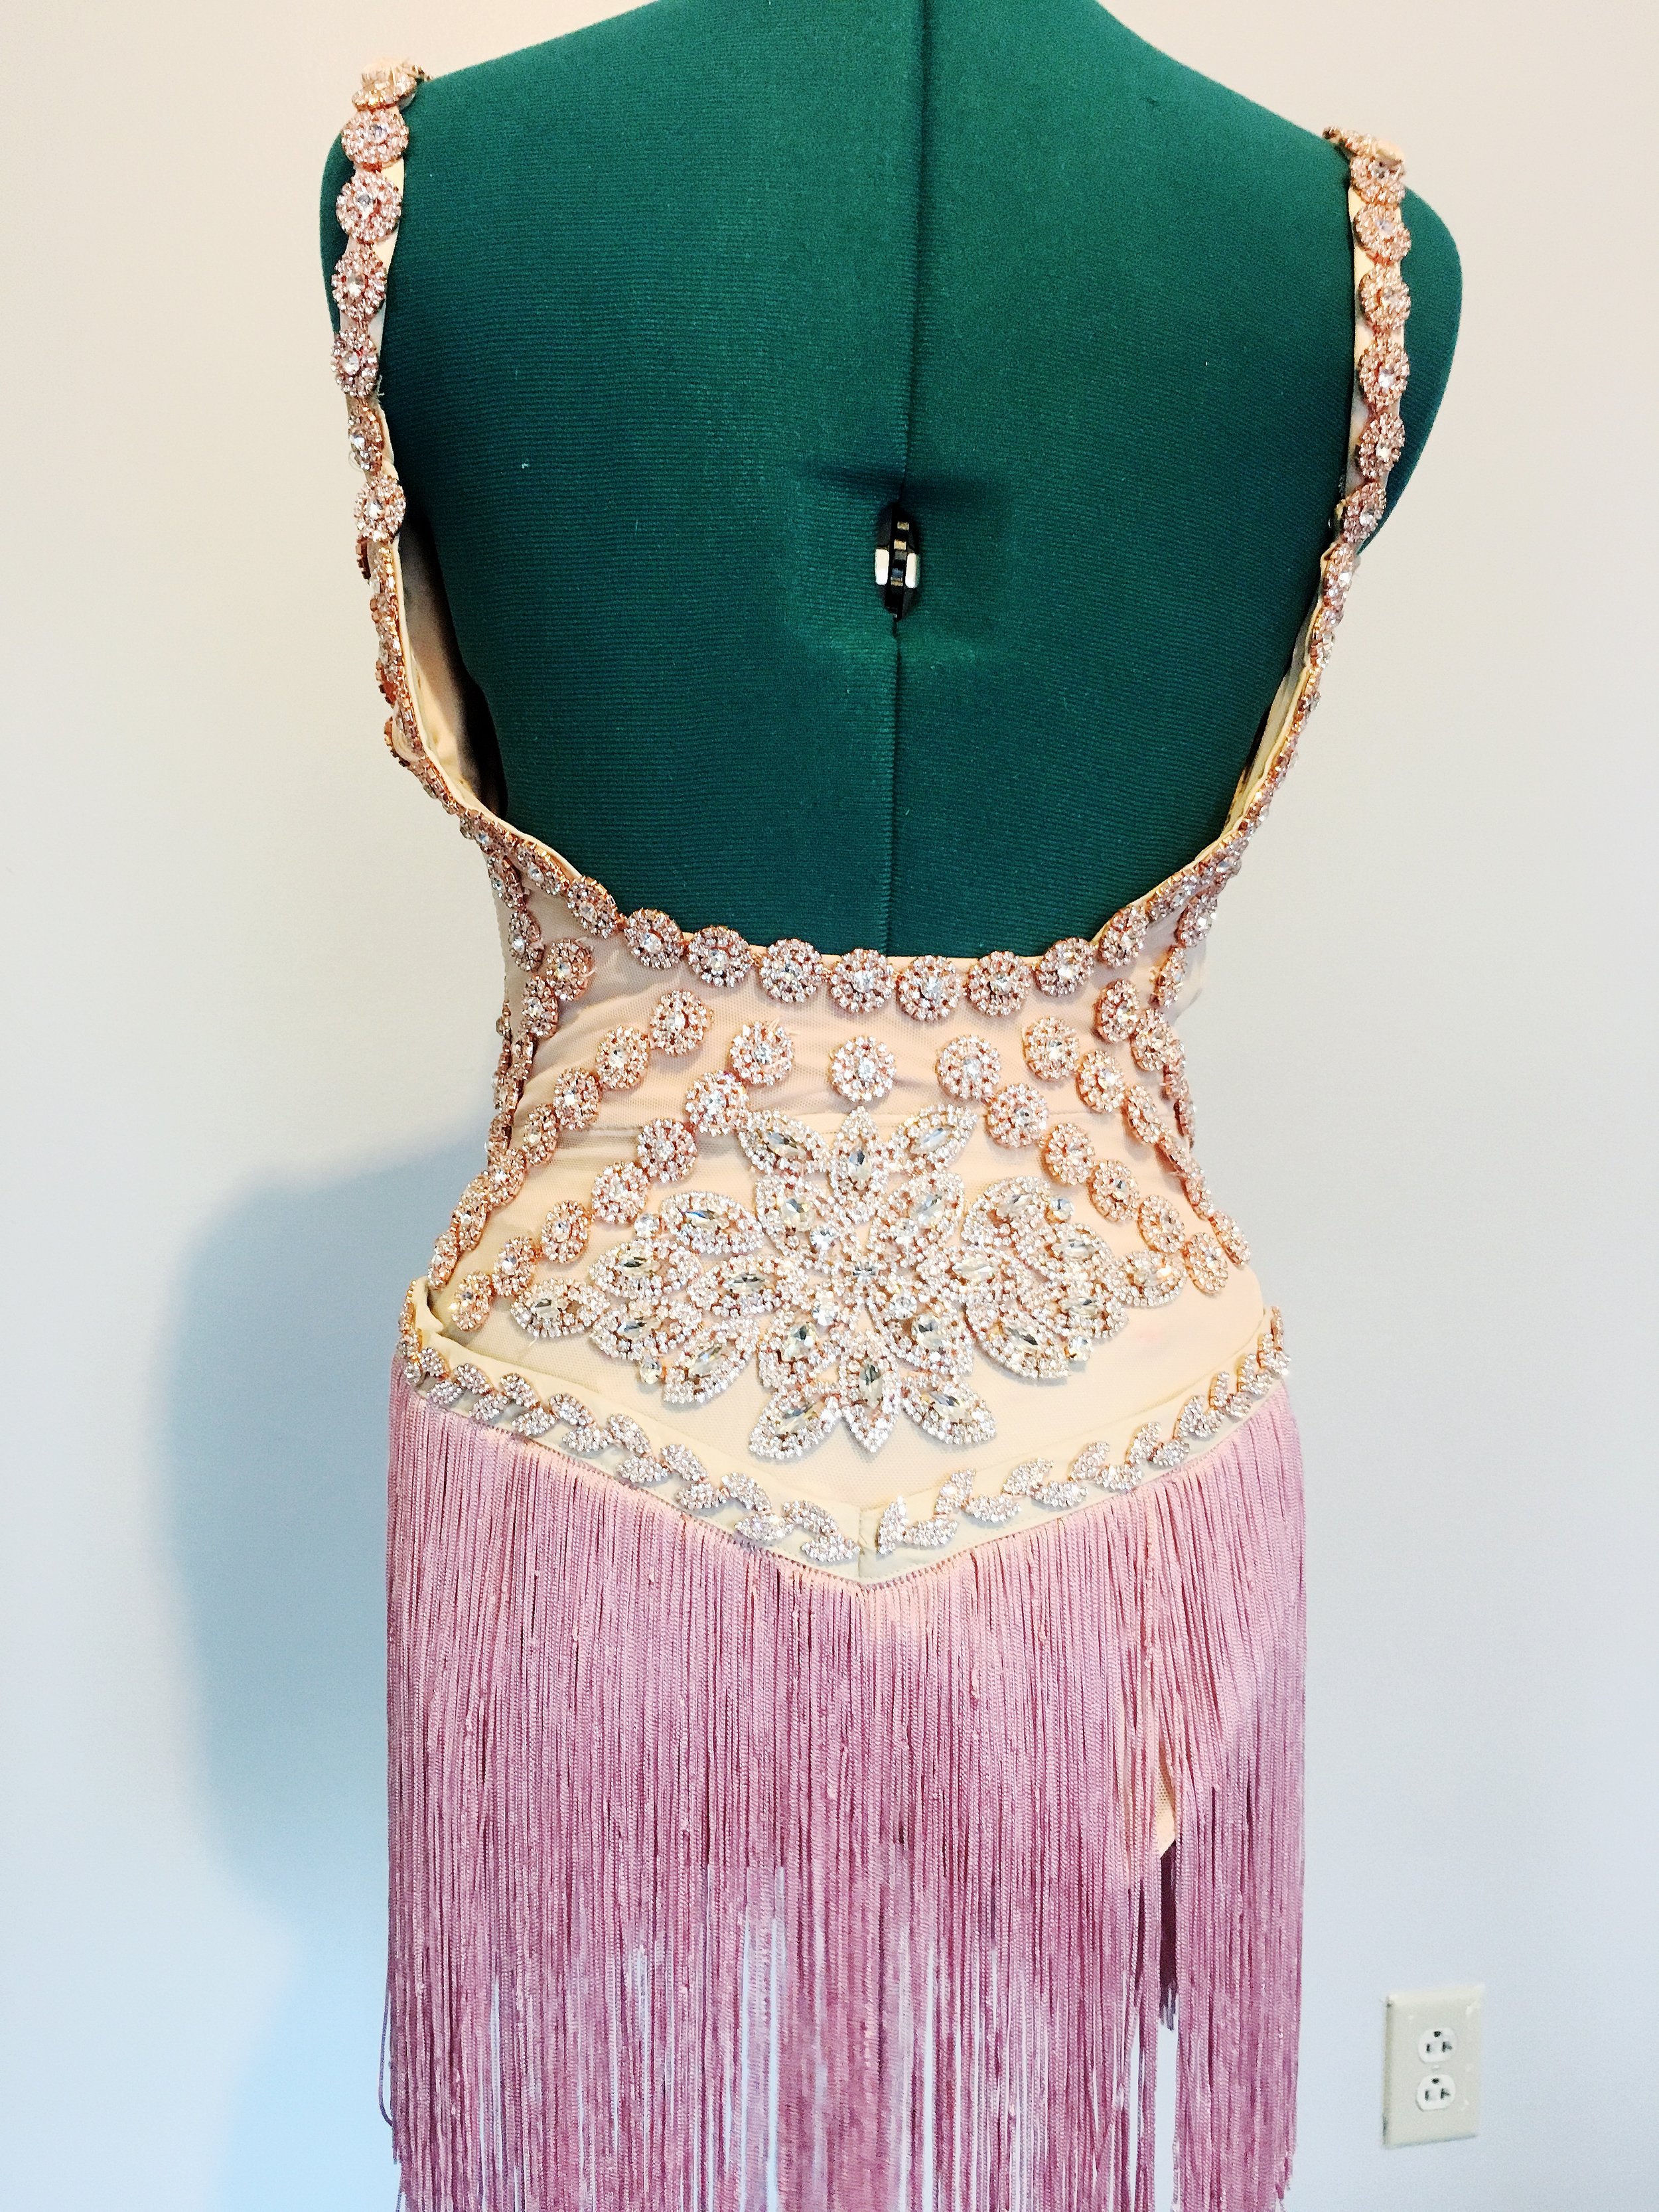
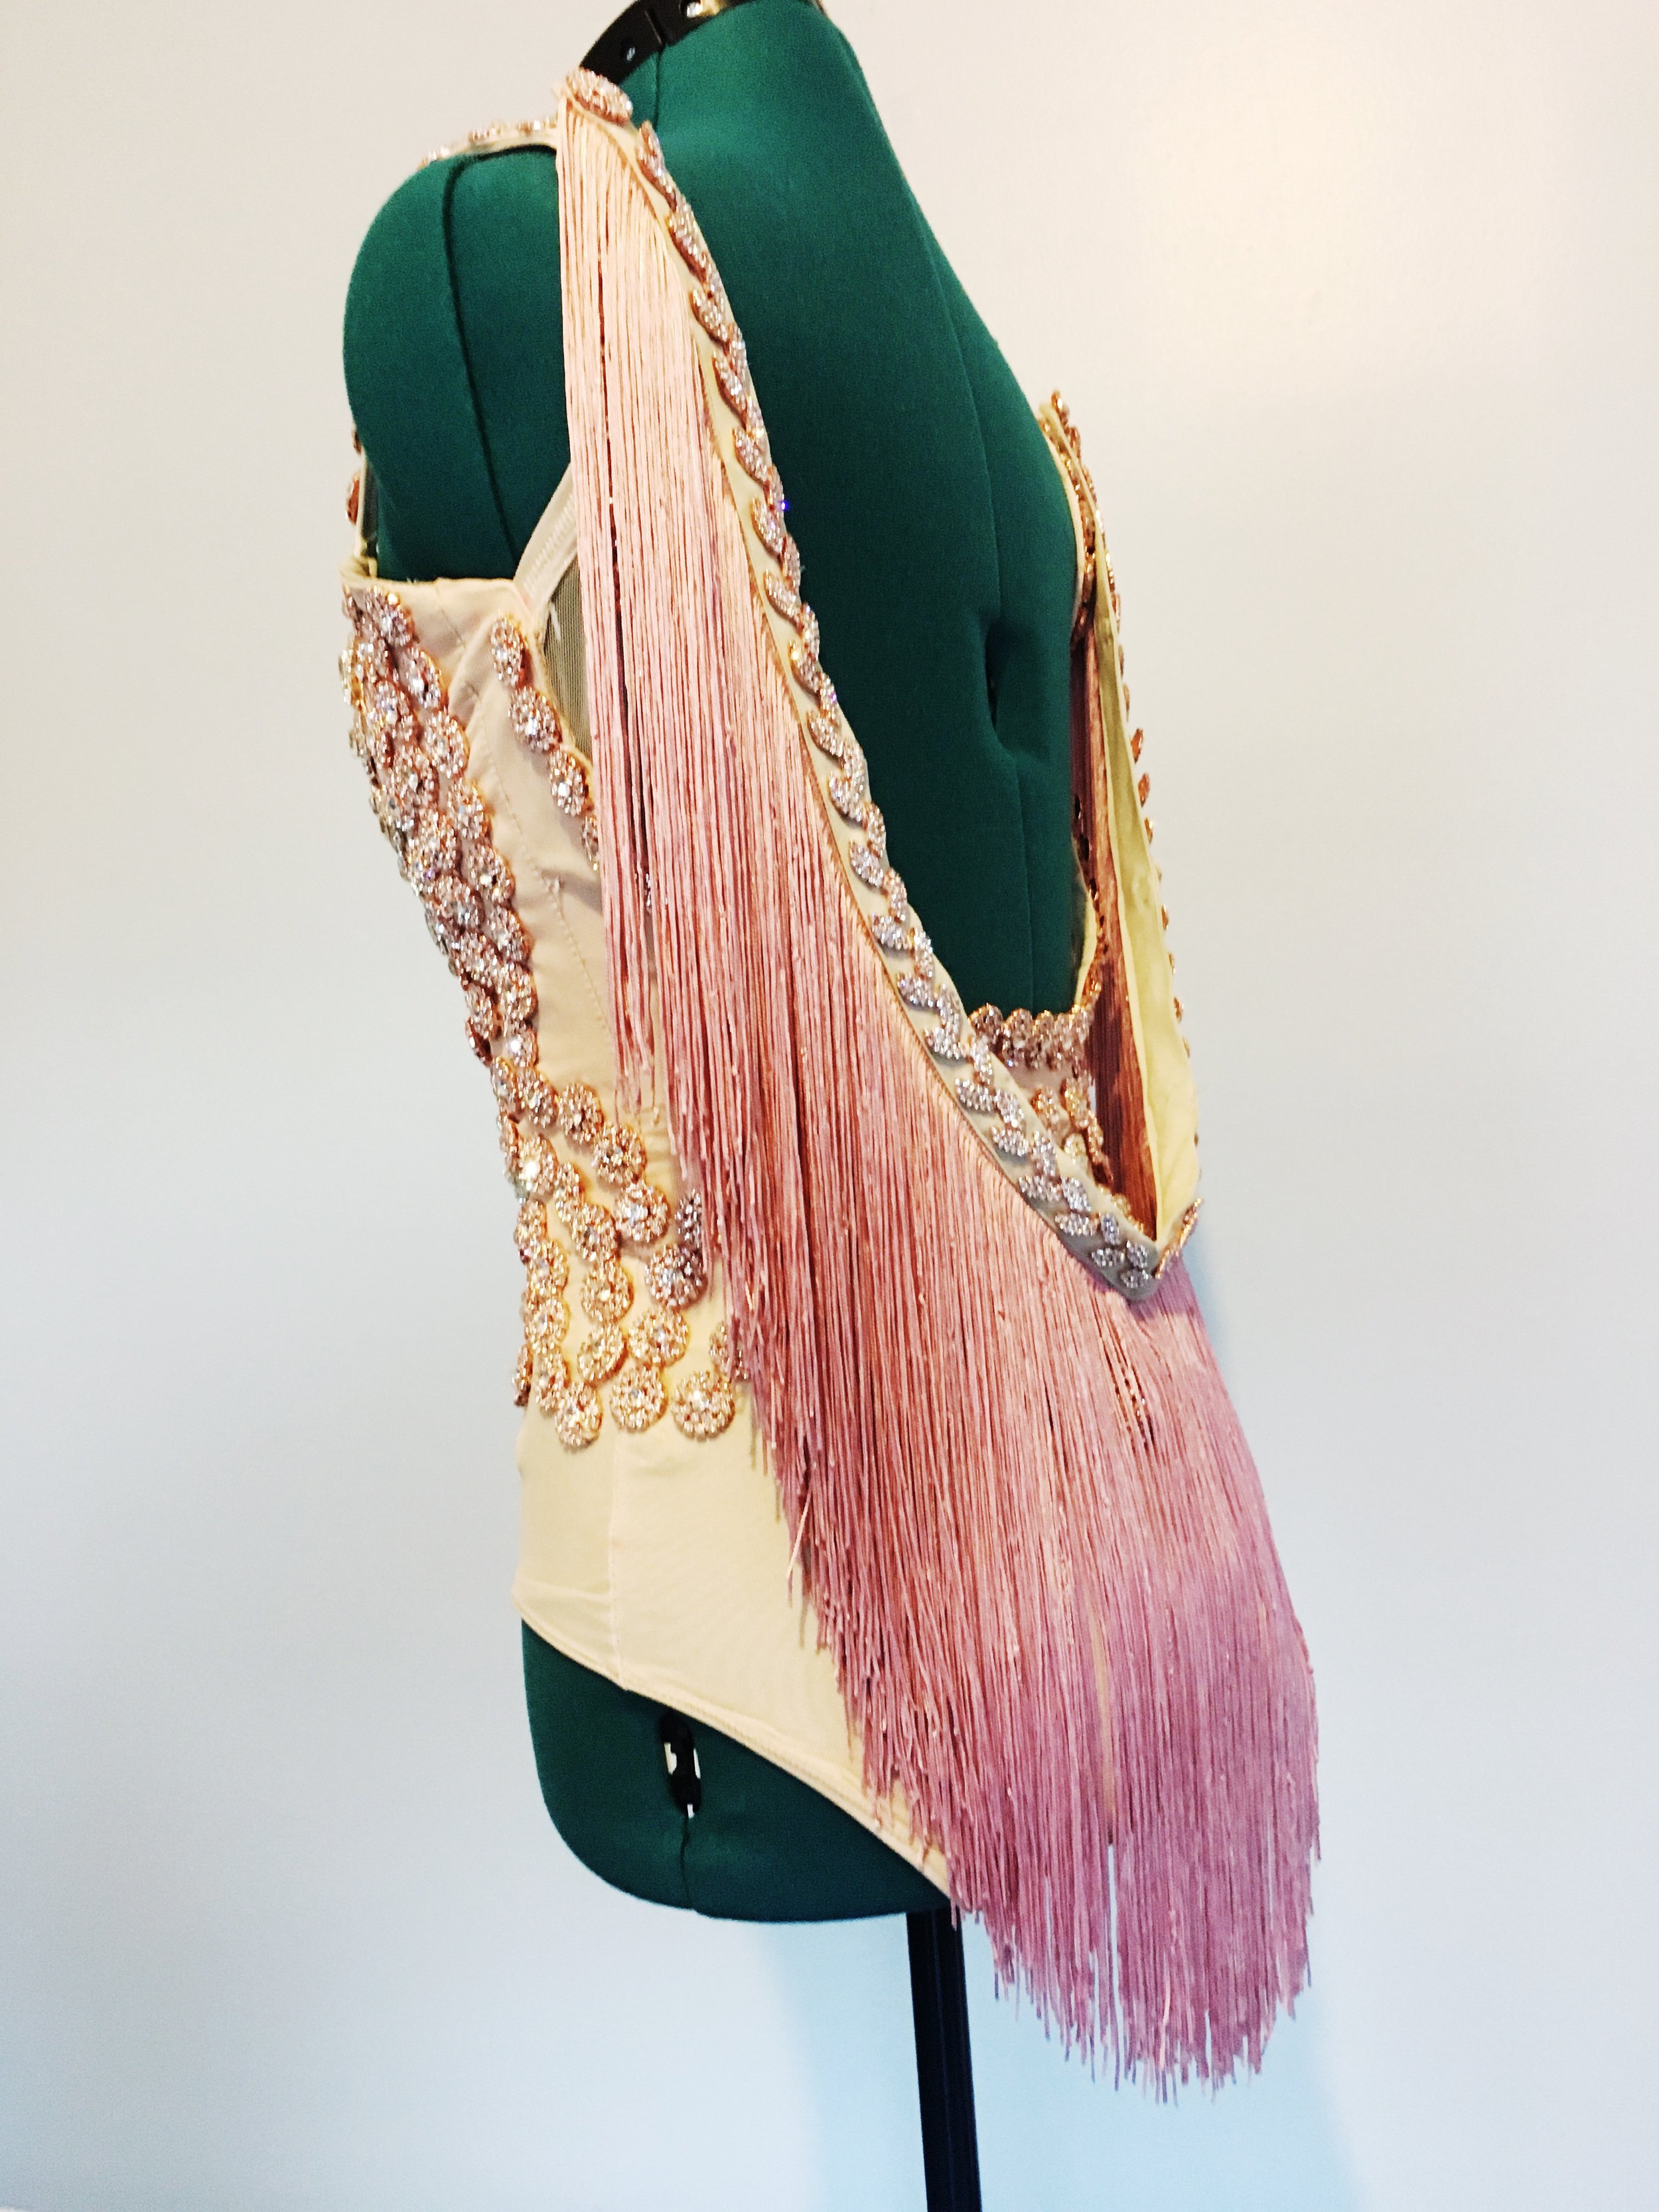
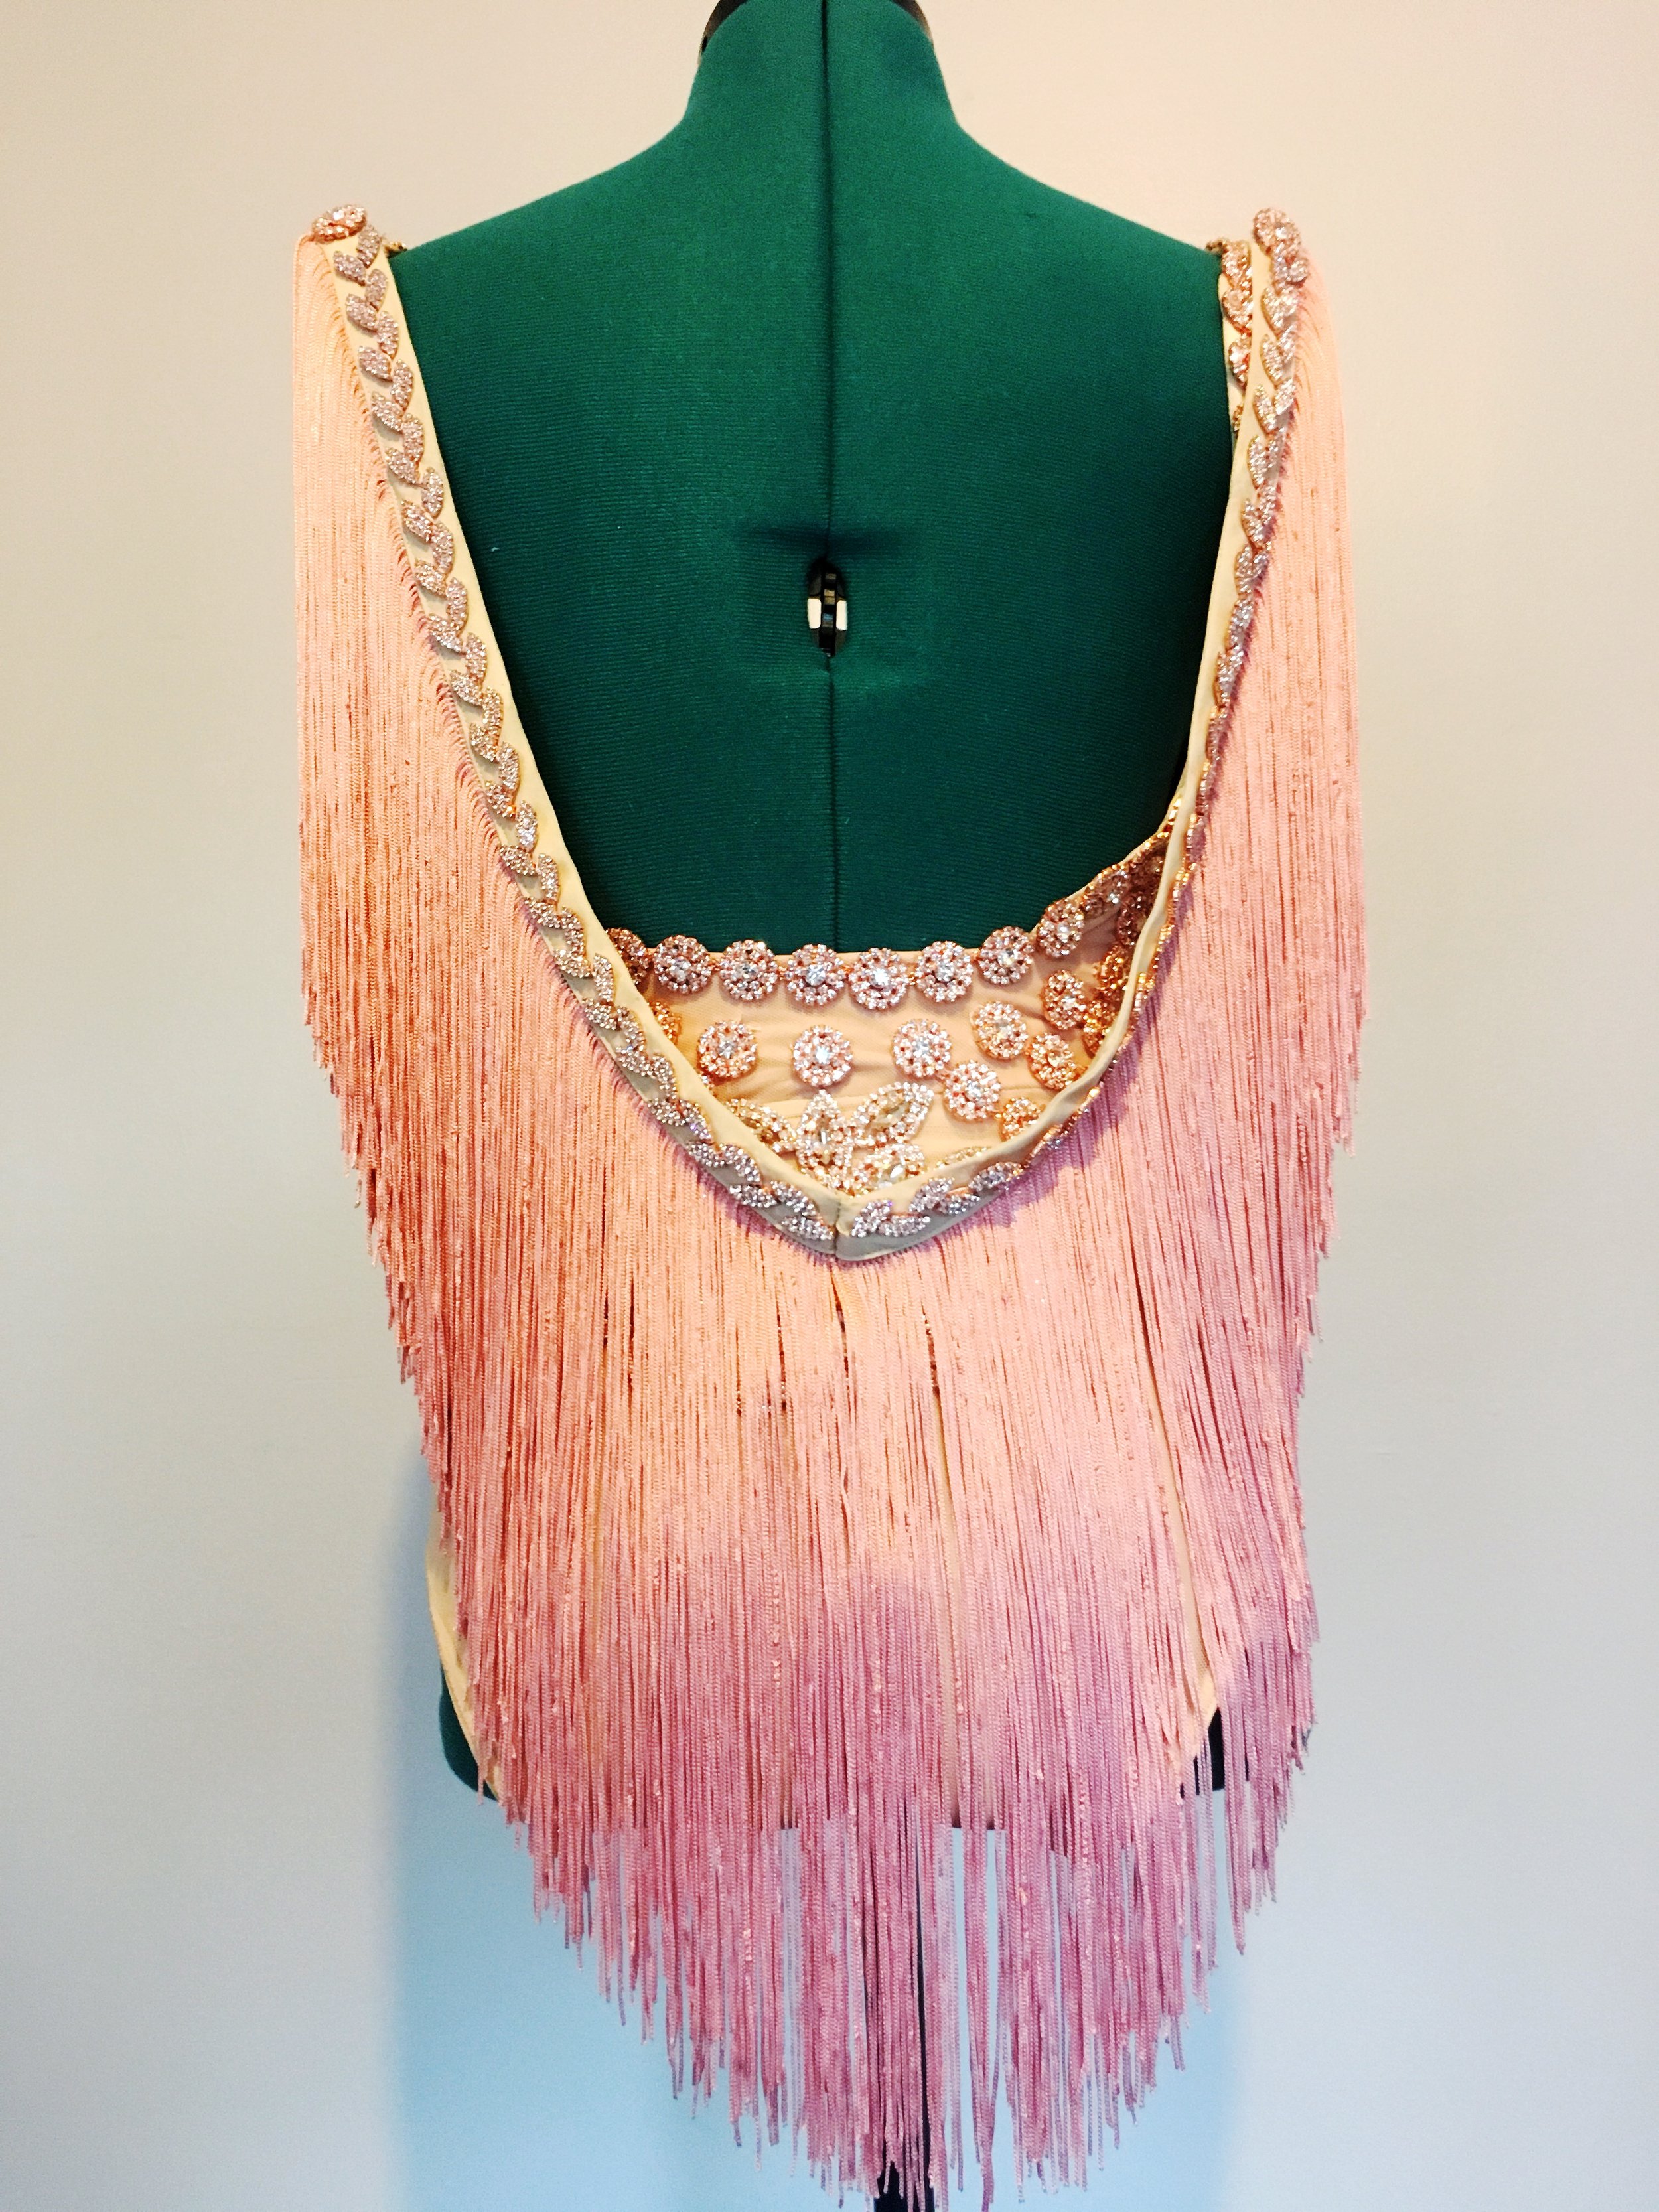
We settled on an open back, a detachable skirt, and rose gold rhinestones. Although this thing was going to be covered in metal and rhinestones, Timber wanted a tight, secure fit - one I wasn't going to achieve using a polyester or a liner material without the lining getting caught up on her undergarments. To get the illusion of a plunge front, without losing (much needed) support, I planned for the use of power mesh in the neckline.
So together, we designed a spandex leotard with a liner fabric supporting the front piece only, a power mesh plunging neckline, an open back, and a removable fringe skirt. Most sane seamstresses would look for a finished leo to alter, but with how many modifications, and structure, that this would need, I decided it was best to draft from scratch, and separate into two working pieces. I took her measurements and patterned out a mockup, and since we're working with 4-way stretch here, made my test garment out of the same material I planned for the final piece. The test garment was a top and a bottom, which I kept separate until we made our tweaks to the pattern.
After making slight tweaks to tighten it up the test garment, and applying those changes to the pattern, I remade the piece and connected the two into one leotard with a side zipper. We shortened the straps yet again. We shortened the torso. Then we remade it one more time (I'm not a fan of seam ripping spandex), and boom - this became our final base garment. Then I cut the bust wayyy open so that the true neckline would hide behind the rhinestoning to give a nude rhinestone effect, and added power mesh in the bust (to give the bust structure before adding the weight) - and surprisingly, added power mesh to the sides of the open back. I think this was a weakness in my patterning skills - or maybe a just tough combination between using spandex on an open-backed garment, while still making it still feel secure/tight enough in thy body. In any case, adding a strip of power mesh to each side filled in a bit of that space without pulling the garment away from her body.
No more test garments for us {this month}! Time to make this leo sparkle.
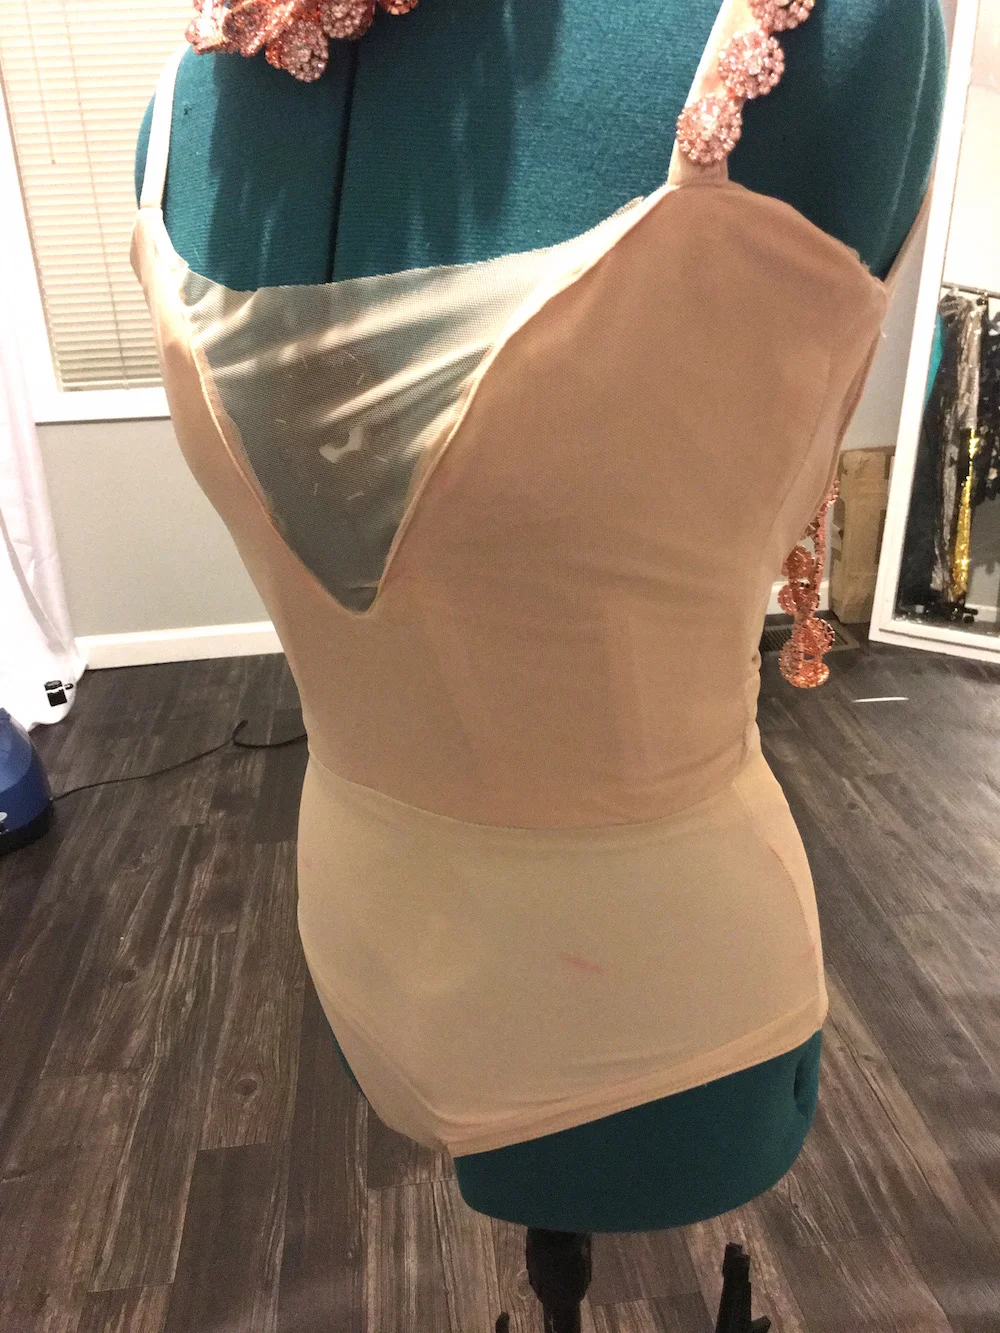
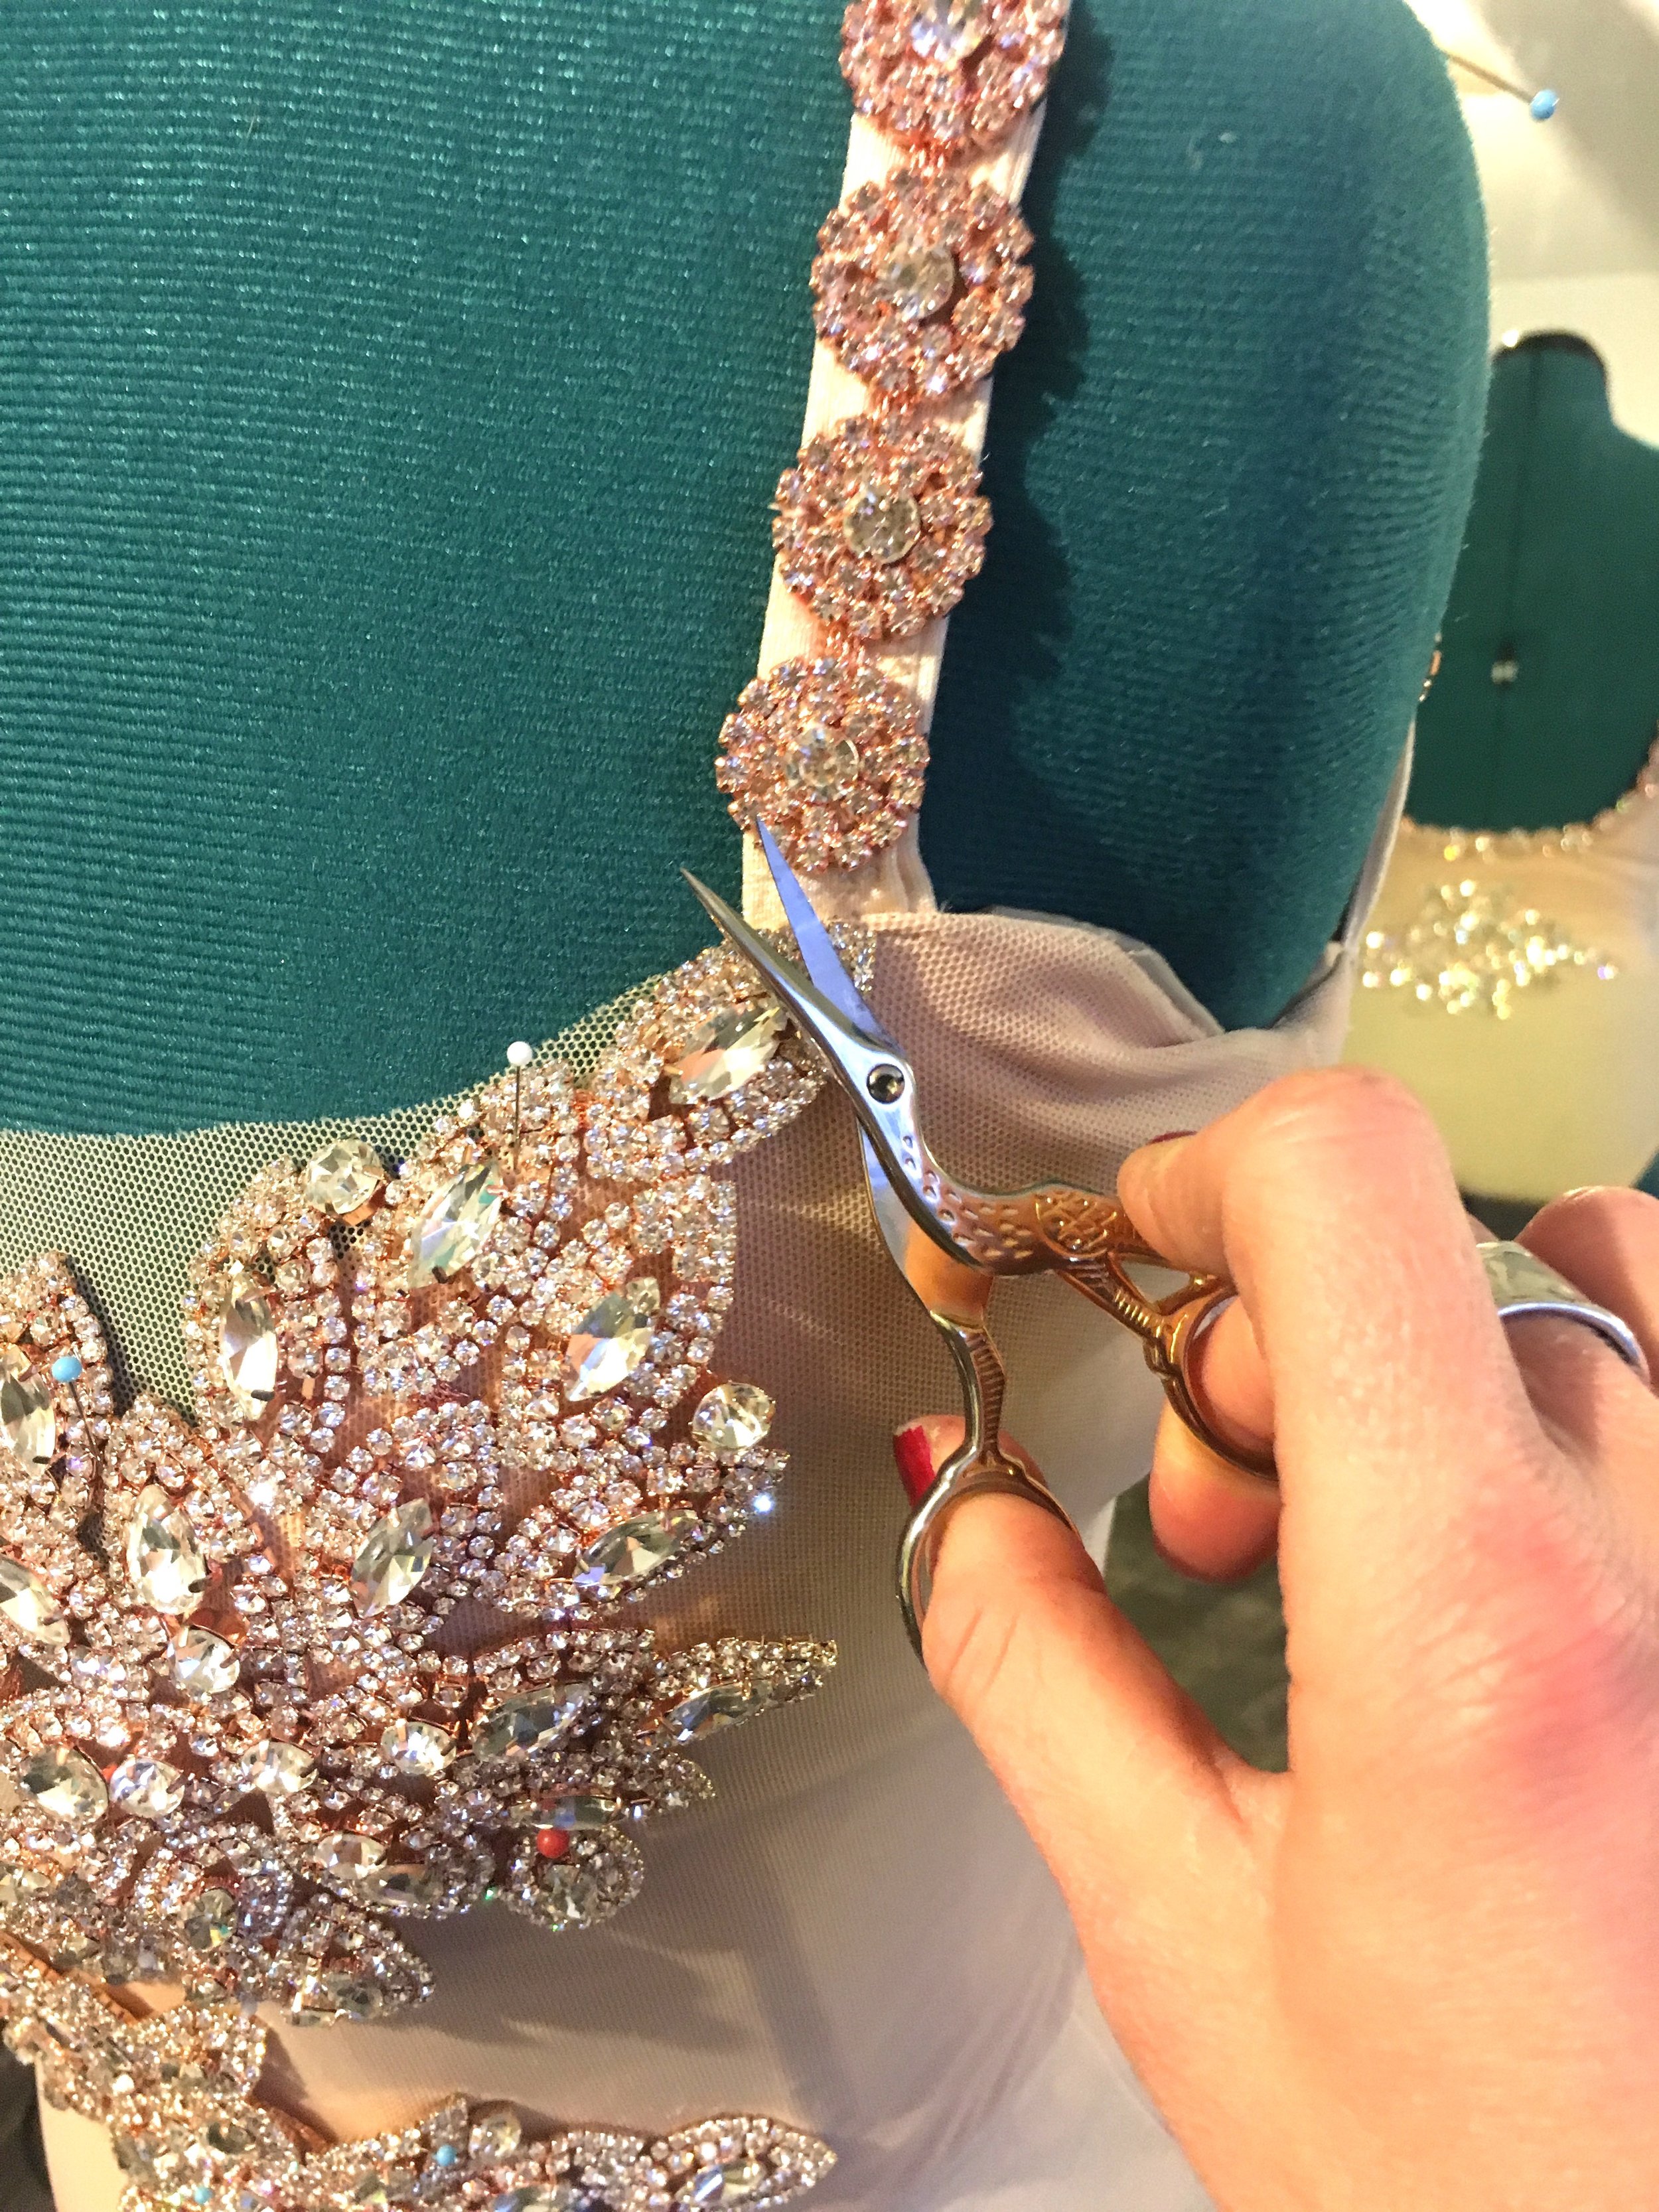
After marking out where each piece of appliqué would go, I started from the top down, as you do with heavy rhinestoning. The second I started adding the appliqué I knew this thing was going to need a ton of boning to support, and since I made this one custom, I knew that no matter how much I added, she wouldn't have trouble getting into (or out of) it. I added 7 strips of boning (I intentionally skipped out on supporting the back side behind the zipper) and began basting.
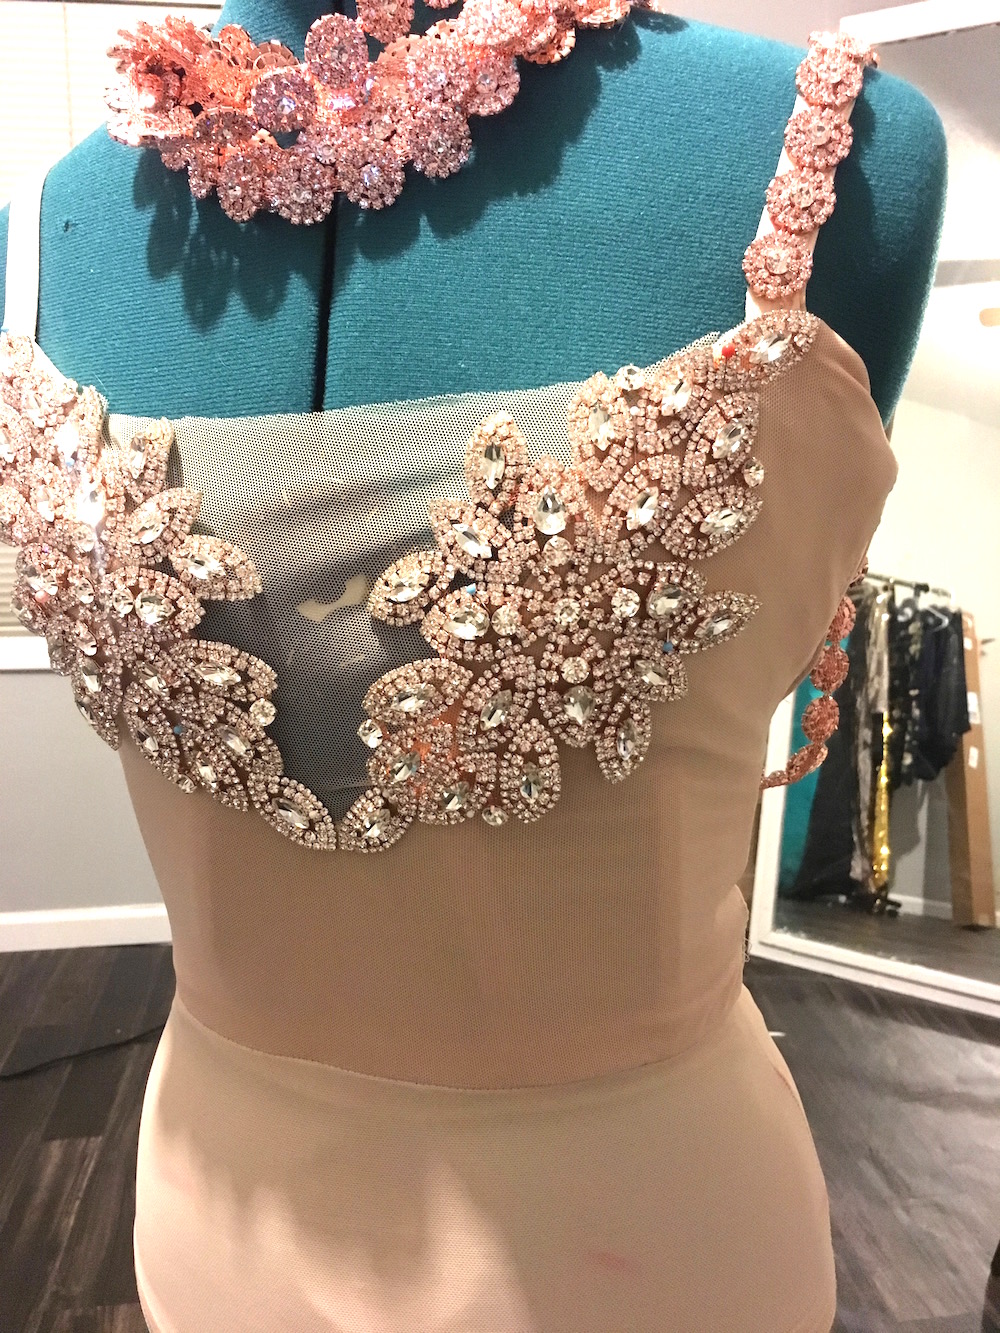
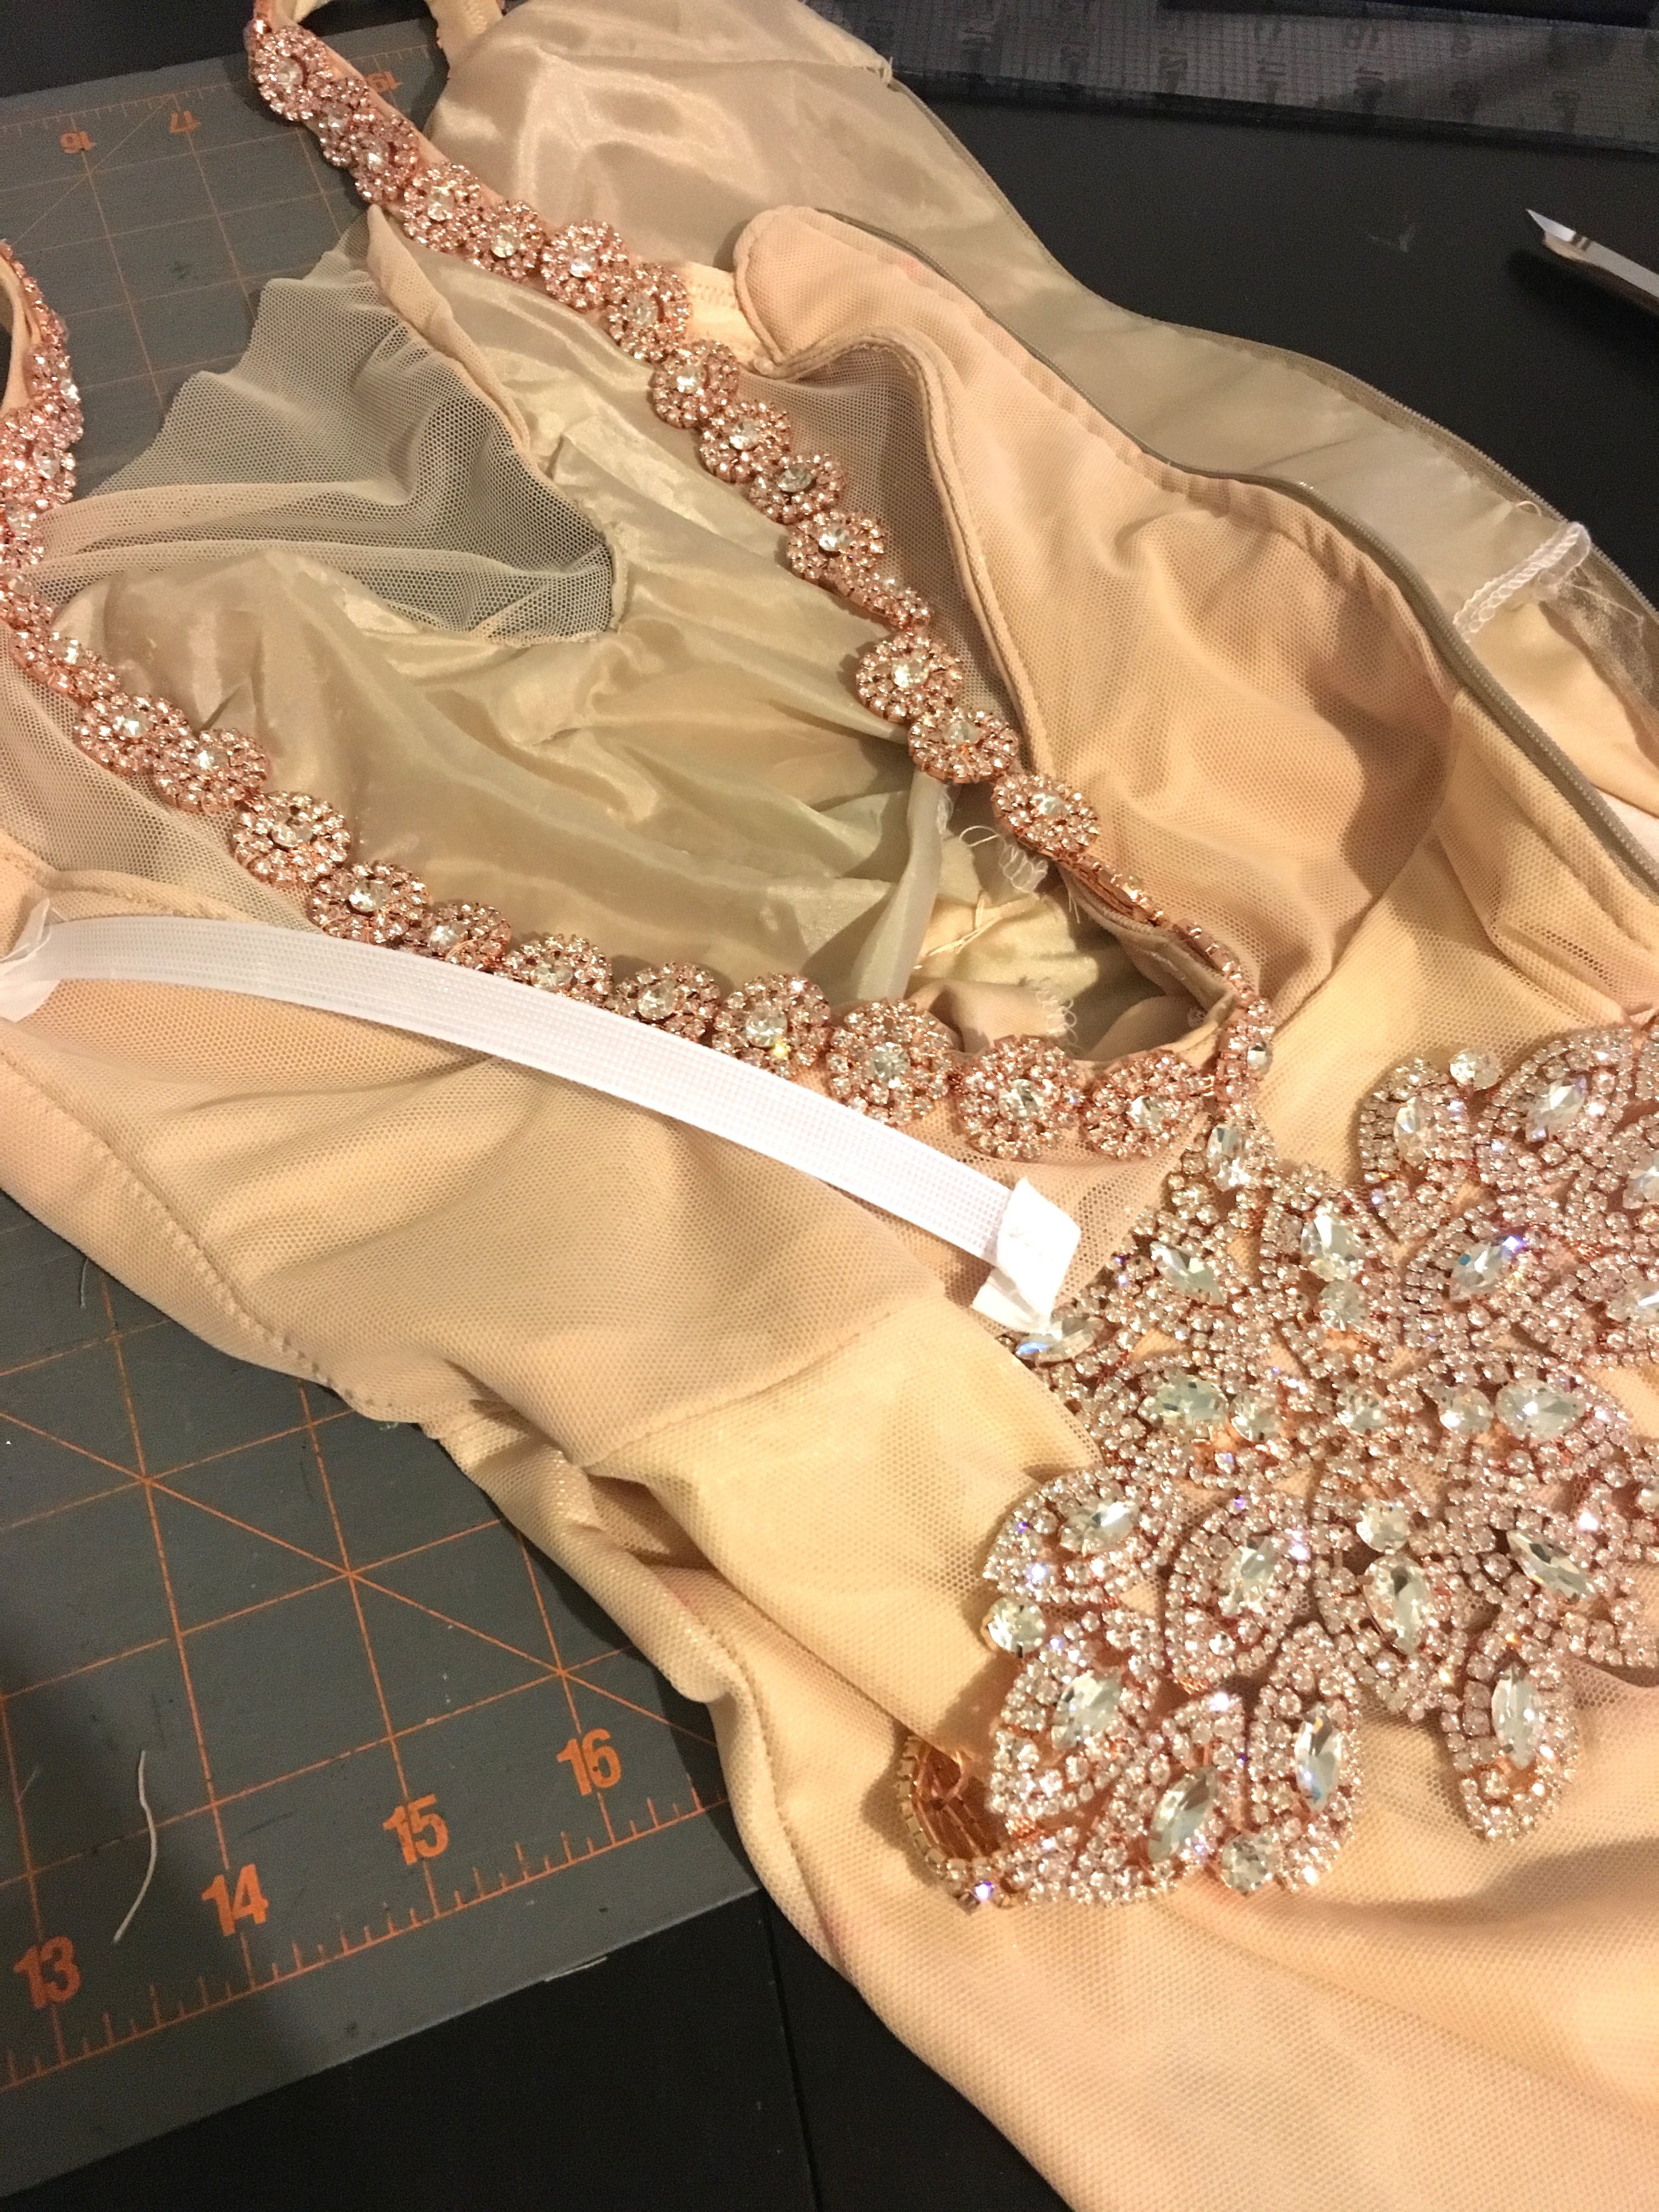


After it was half-finished with rhinestoning, I finished out the skirt and attached it with magnets - making sleeves for the magnets to go on the inside of the leo, and stitched them into the skirt's belt. Once the new skirt line was in place, I finished rhinestoning the bottom and open back. After a few test runs, we ended up turning the regular dress zipper into a fully separating jacket zipper that ran all the way down to her leg. I don't mean to brag, but I managed to install a lapped separating zipper into a spandex leo in under an hour - a new PR!
Per Timber's request, I also installed snaps in the crotch as an emergency escape route should anything with the zipper go wrong. I'm not sure I could stomach this little number being cut open if her zipper ate tape on a random Friday night. We also ended up adding hooks to the front ends of the skirt - all her flingin' and swingin' around kept making those ends peel away from their magnets, so some simple hooks facing away from each other helped it stay in place until it was time to turn it into a cape.
We used:
- 2 yards of double brushed polyester
- 20 magnets
- 3 spools of heavy-weight silk thread
- 1 yard of nude power mesh
- 1 yard of liner material (as a skim-proof stabilizer)
- LOADS of rose gold rhinestone appliqué


